My Home Agility All Season Practice Area
15 Mar 2020
My backyard turns to a muddy mess in the late Spring through early Fall so I converted a section of it to an “all season” training area where I can train and play with my dogs when it’s muddy out. Hopefully, reducing wear and tear on the grass portion of my yard and keeping my dogs cleaner.
My yard had eight very large blue spruce trees along the East fence that have been dying over the past 10 years. I chose that area since it would be contained by the fence along one of the long sides. It also let me extend agility courses from the grass area into the practice area on the opposite side when I needed the space.
I had planned three uses for the area:
- On wet/cold days I’d put up Ring Gates to keep the dogs in the practice area to:
- Practice contacts, tunnels, and weaves.
- Let the dogs run around and play.
- On dry late Spring through early Fall days I’d take the gates away and use the full yard for courses linking to tunnels, contacts, weaves in the practice area.
Because of the last use, I wanted to make the top of the practice as even with the top of the grass area as possible. I didn’t want the dogs to trip going to/from the practice area.
I decided on an arc shaped edge where the area transitioned to my lawn to make the area a little more aesthetically pleasing. It goes from the edge of my shed to the edge of the planter around my deck. That made for an approximately 80 ft by 20 ft area.
The photo below shows the area when I was planning out the space with jump standards on the left defining the edge of the area.
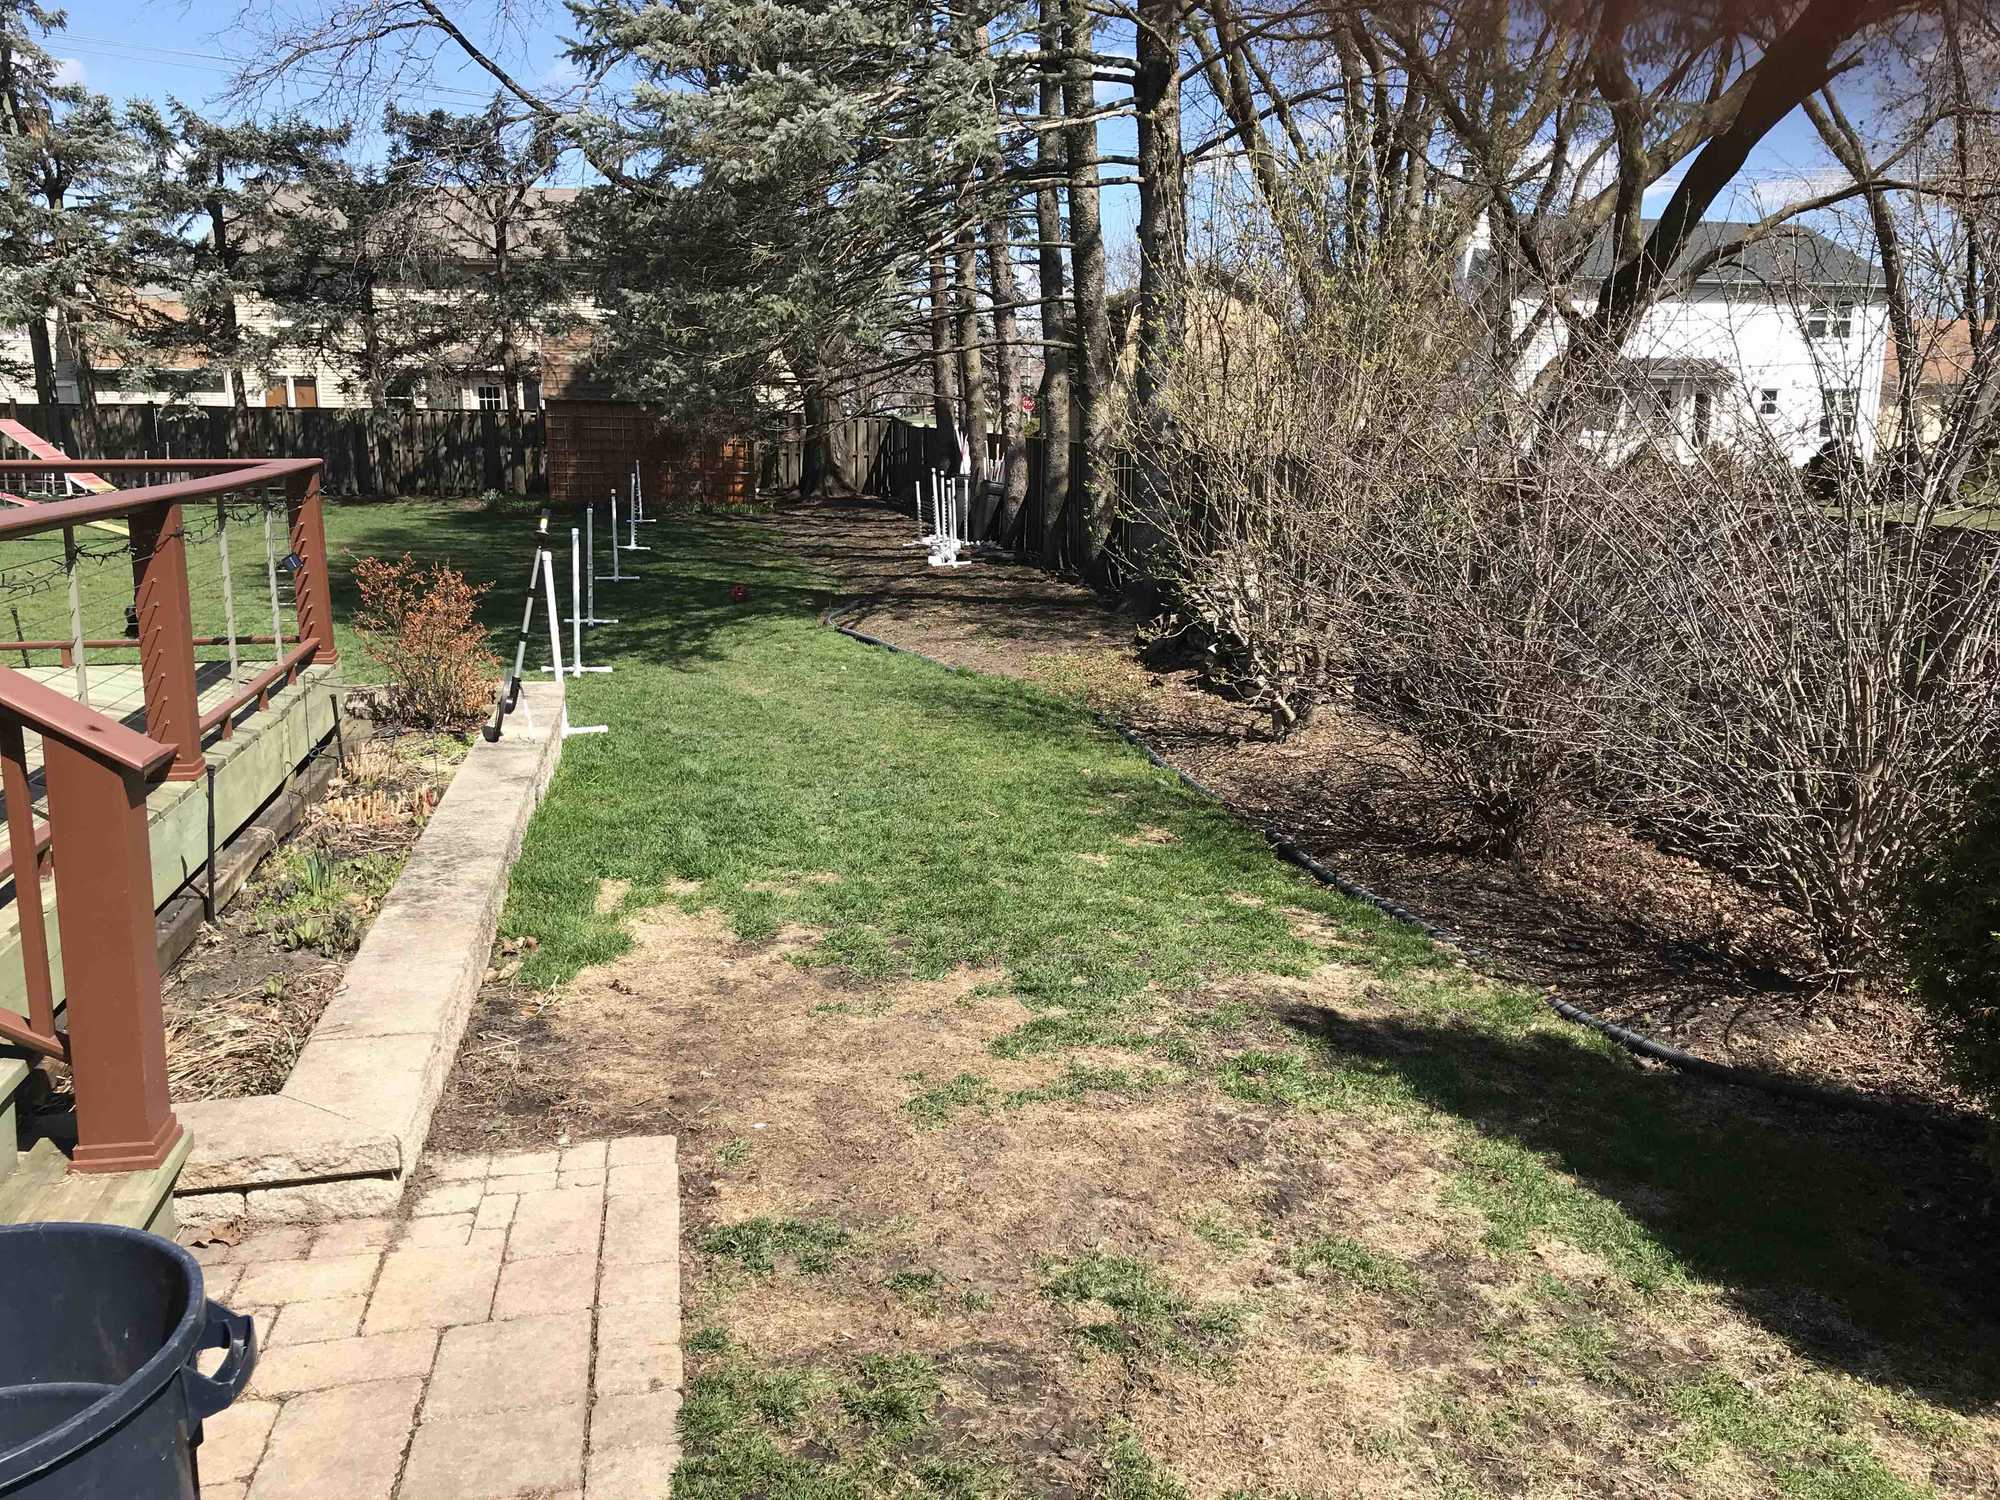
That area, together with the dog’s potty area leading into it, meant I could work (running) contacts, weaves, and maybe some jumping sequences (more on the later at the end of this article).
Materials
I considered installing artificial turf, but the quotes for new turf installed were running about $25,000. If I did the work myself (and knew how!) I could probably have installed used turf for a quarter of that price. Though I was worried it might be difficult when I sell my house some day to have just that area turfed. Unless the next owner is a golfer?!? So I was looking for a solution I could “undo” if necessary.
I also considered compacted lime or decomposed granite since either would drain well in wet weather. Though they would make for a harder surface than I’d like for a lot of jumping.
Since I completed this project, an agility friend has recently worked a large amount of rubber crumb into a limestone screening surface and it stays in place and is also slightly “springy” under foot. Though, after heavy rains, some of the rubber can “float” out of the surface and a drag has to be used to work it back into the surface. (Update: they’ve dug up the screening and installed drain pipe into the edges and covered it with weed block fabric and put back the screenings. After recent hard rains the rubber mostly stays in place.)
Once the trees were removed and the area was stripped of grass and leveled, the material and installation of compacted limestone would run about $4,000.
I decided to go with “playground mulch”. Playground mulch is a special kind of mulch that is cut into roughly square, small pieces without long slivers of wood in it. It is intended for use in children’s play areas. I looked at other types of wood mulch and was worried they had too many sharp pieces in them on which the dogs could injure themselves. I considered rubber mulch but, many of them are made from recycled tires which may have a health/environmental risks, are significantly more expensive, and would be harder to dispose of if I needed it removed before selling my house.
Preparation/Installation
So decision made I got two contractors involed. First a tree service to cut the dying trees down and their stumps ground out. That cost about $3,000.
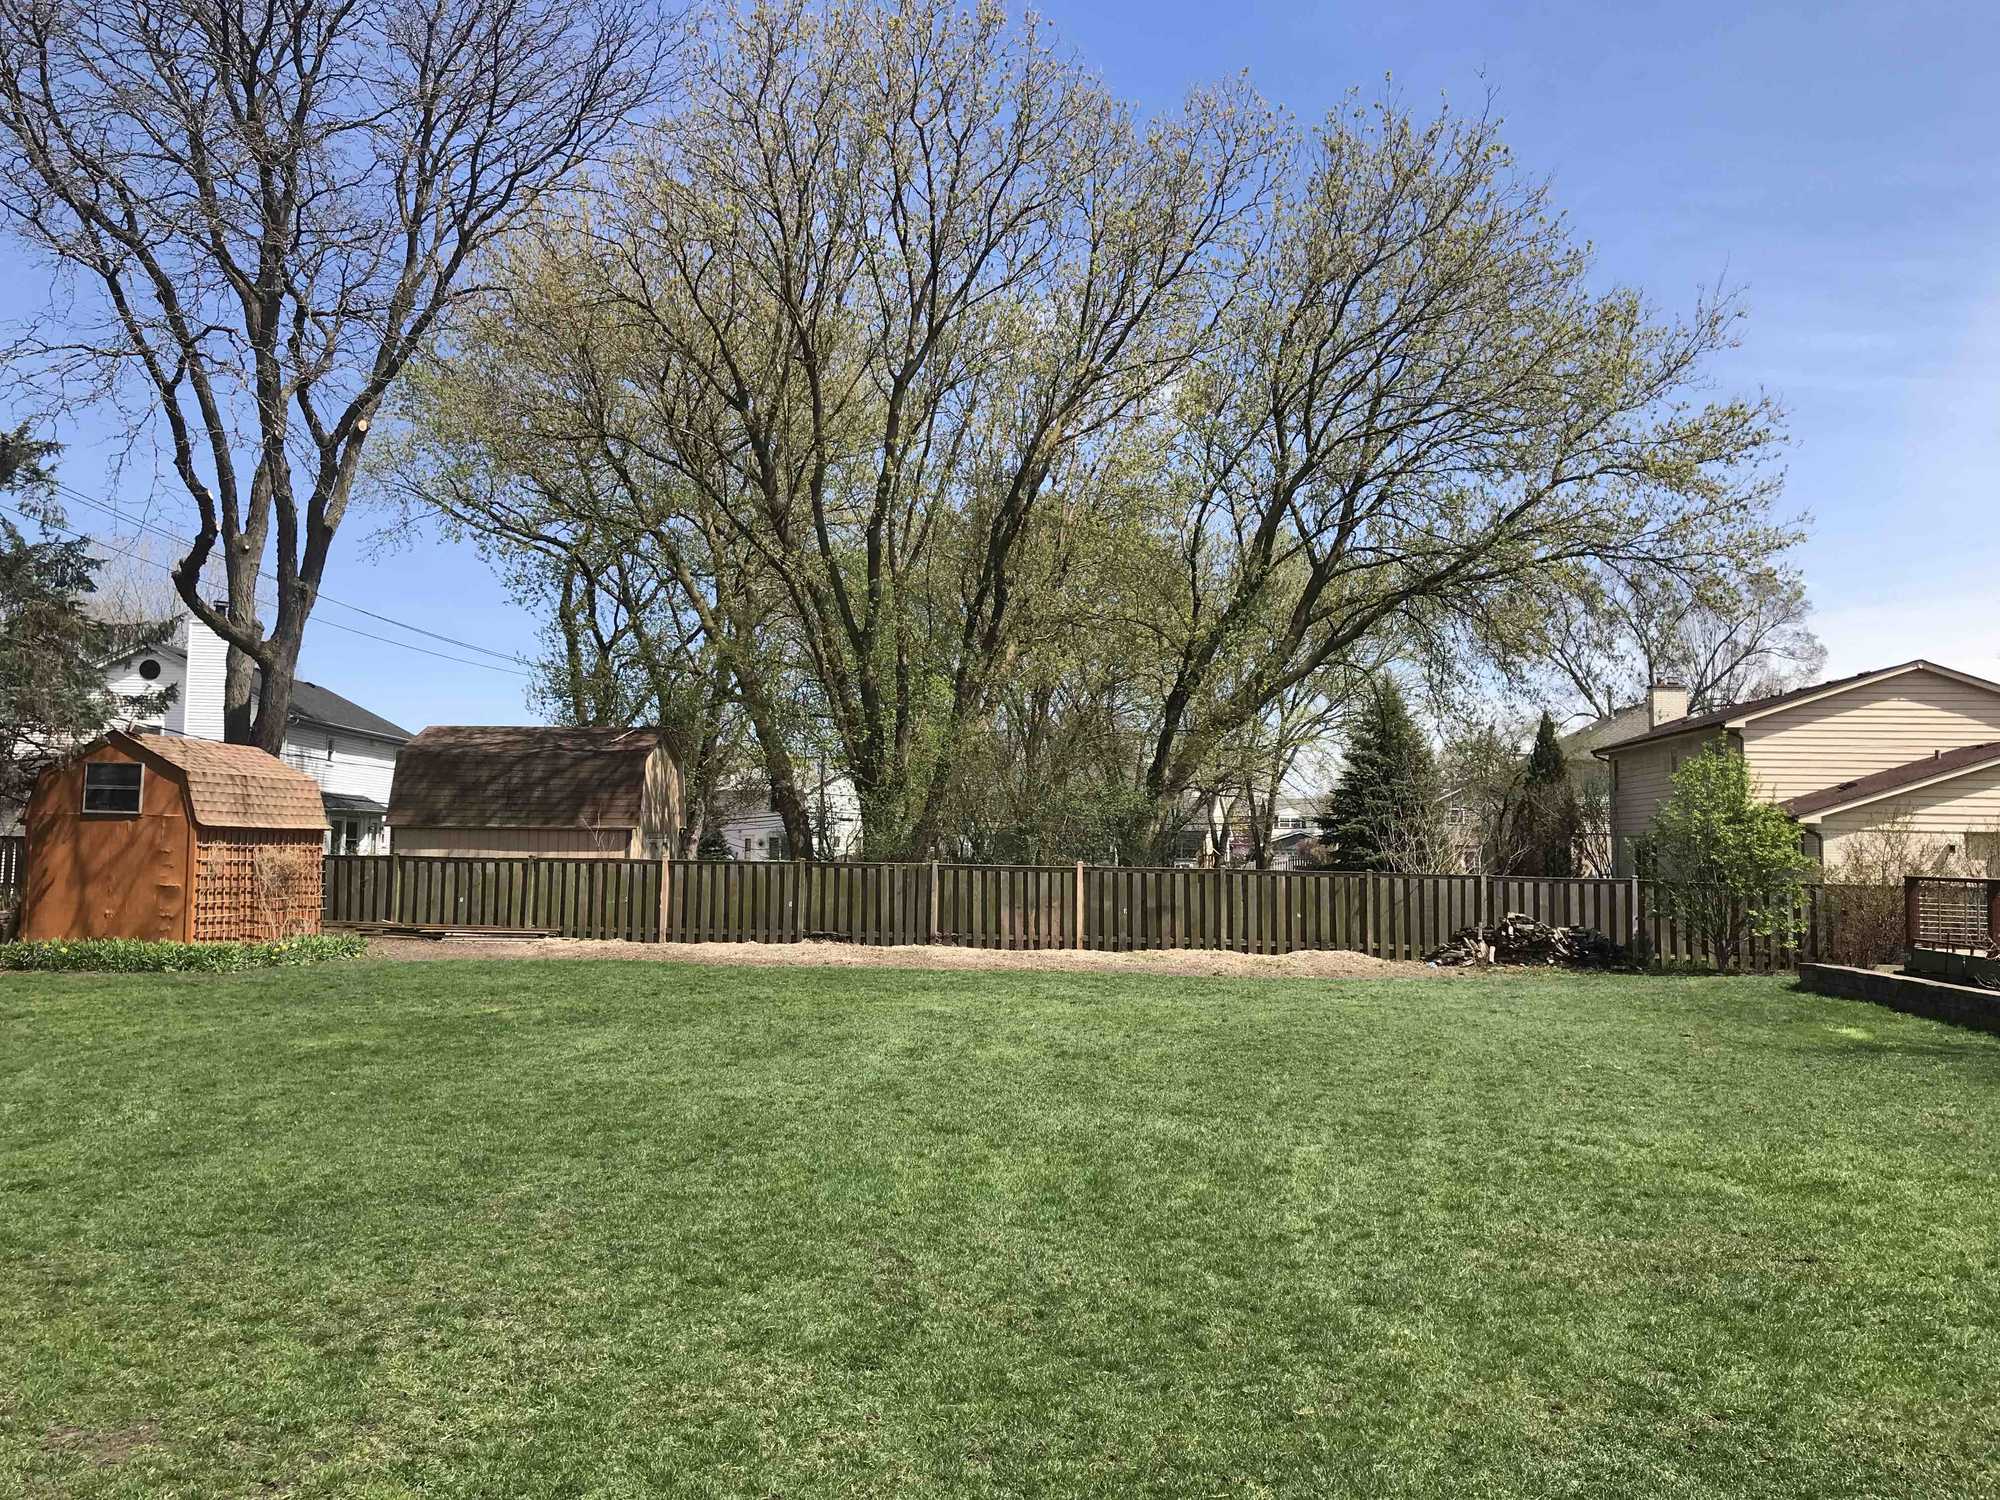
You can easily see how the water collected after a big rain:
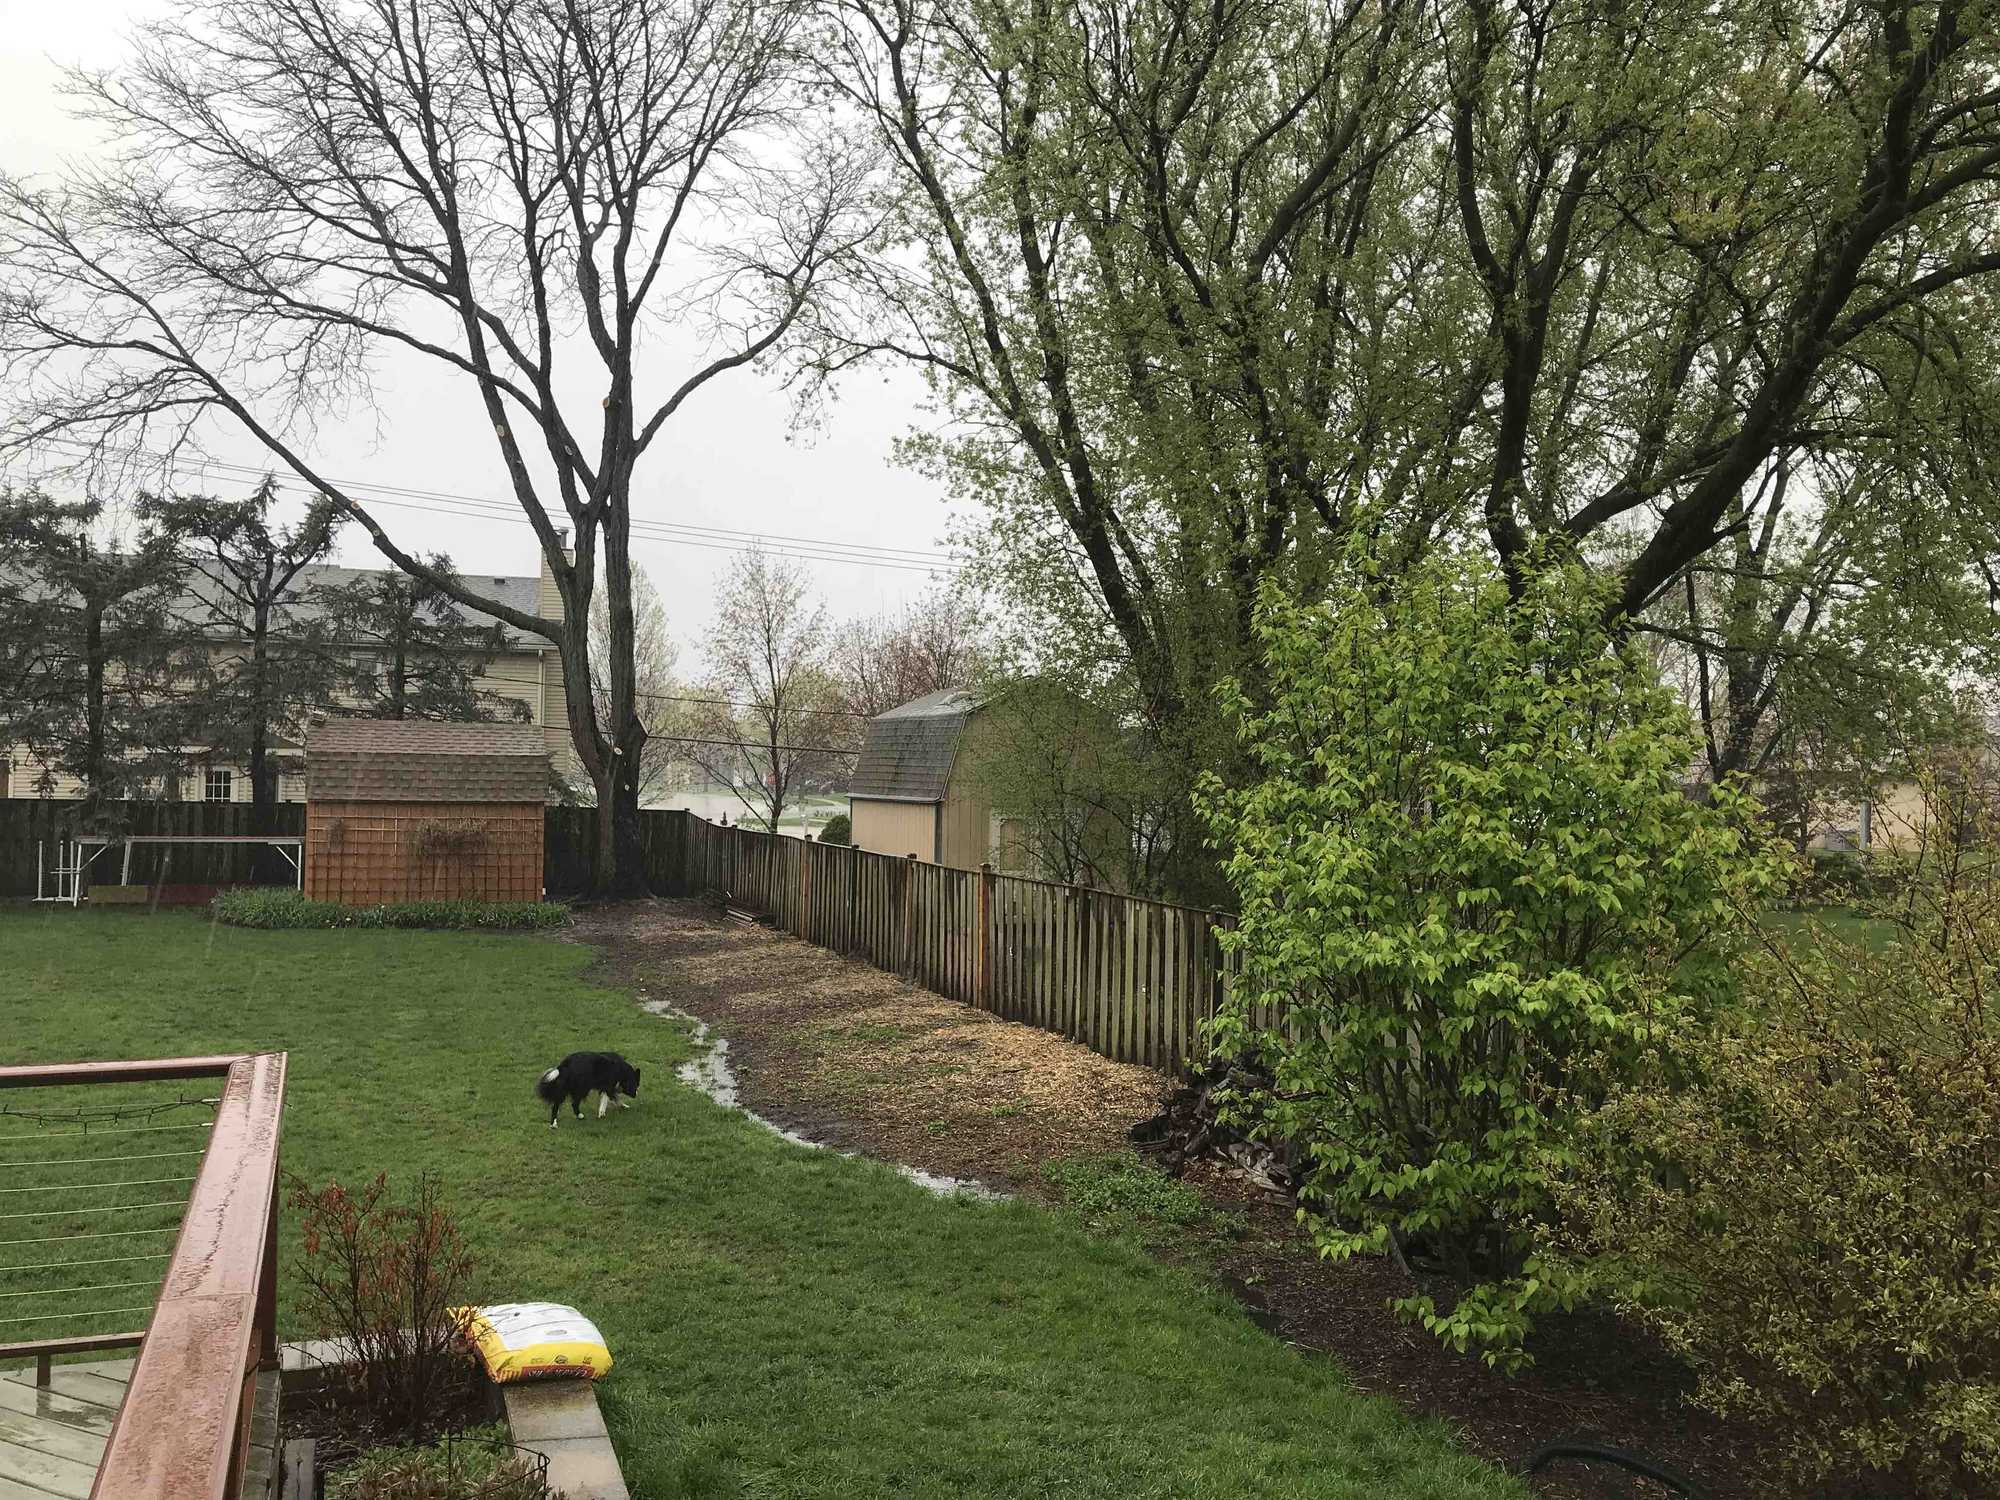
I then contracted with local dog agility friend, Steve Cannon of Muddy Boots Landscaping, to do all the work of creating the practice area. Creating this area was part of a larger job, but I’d guess the cost for labor, equipment rental, and materials was around $5,000.
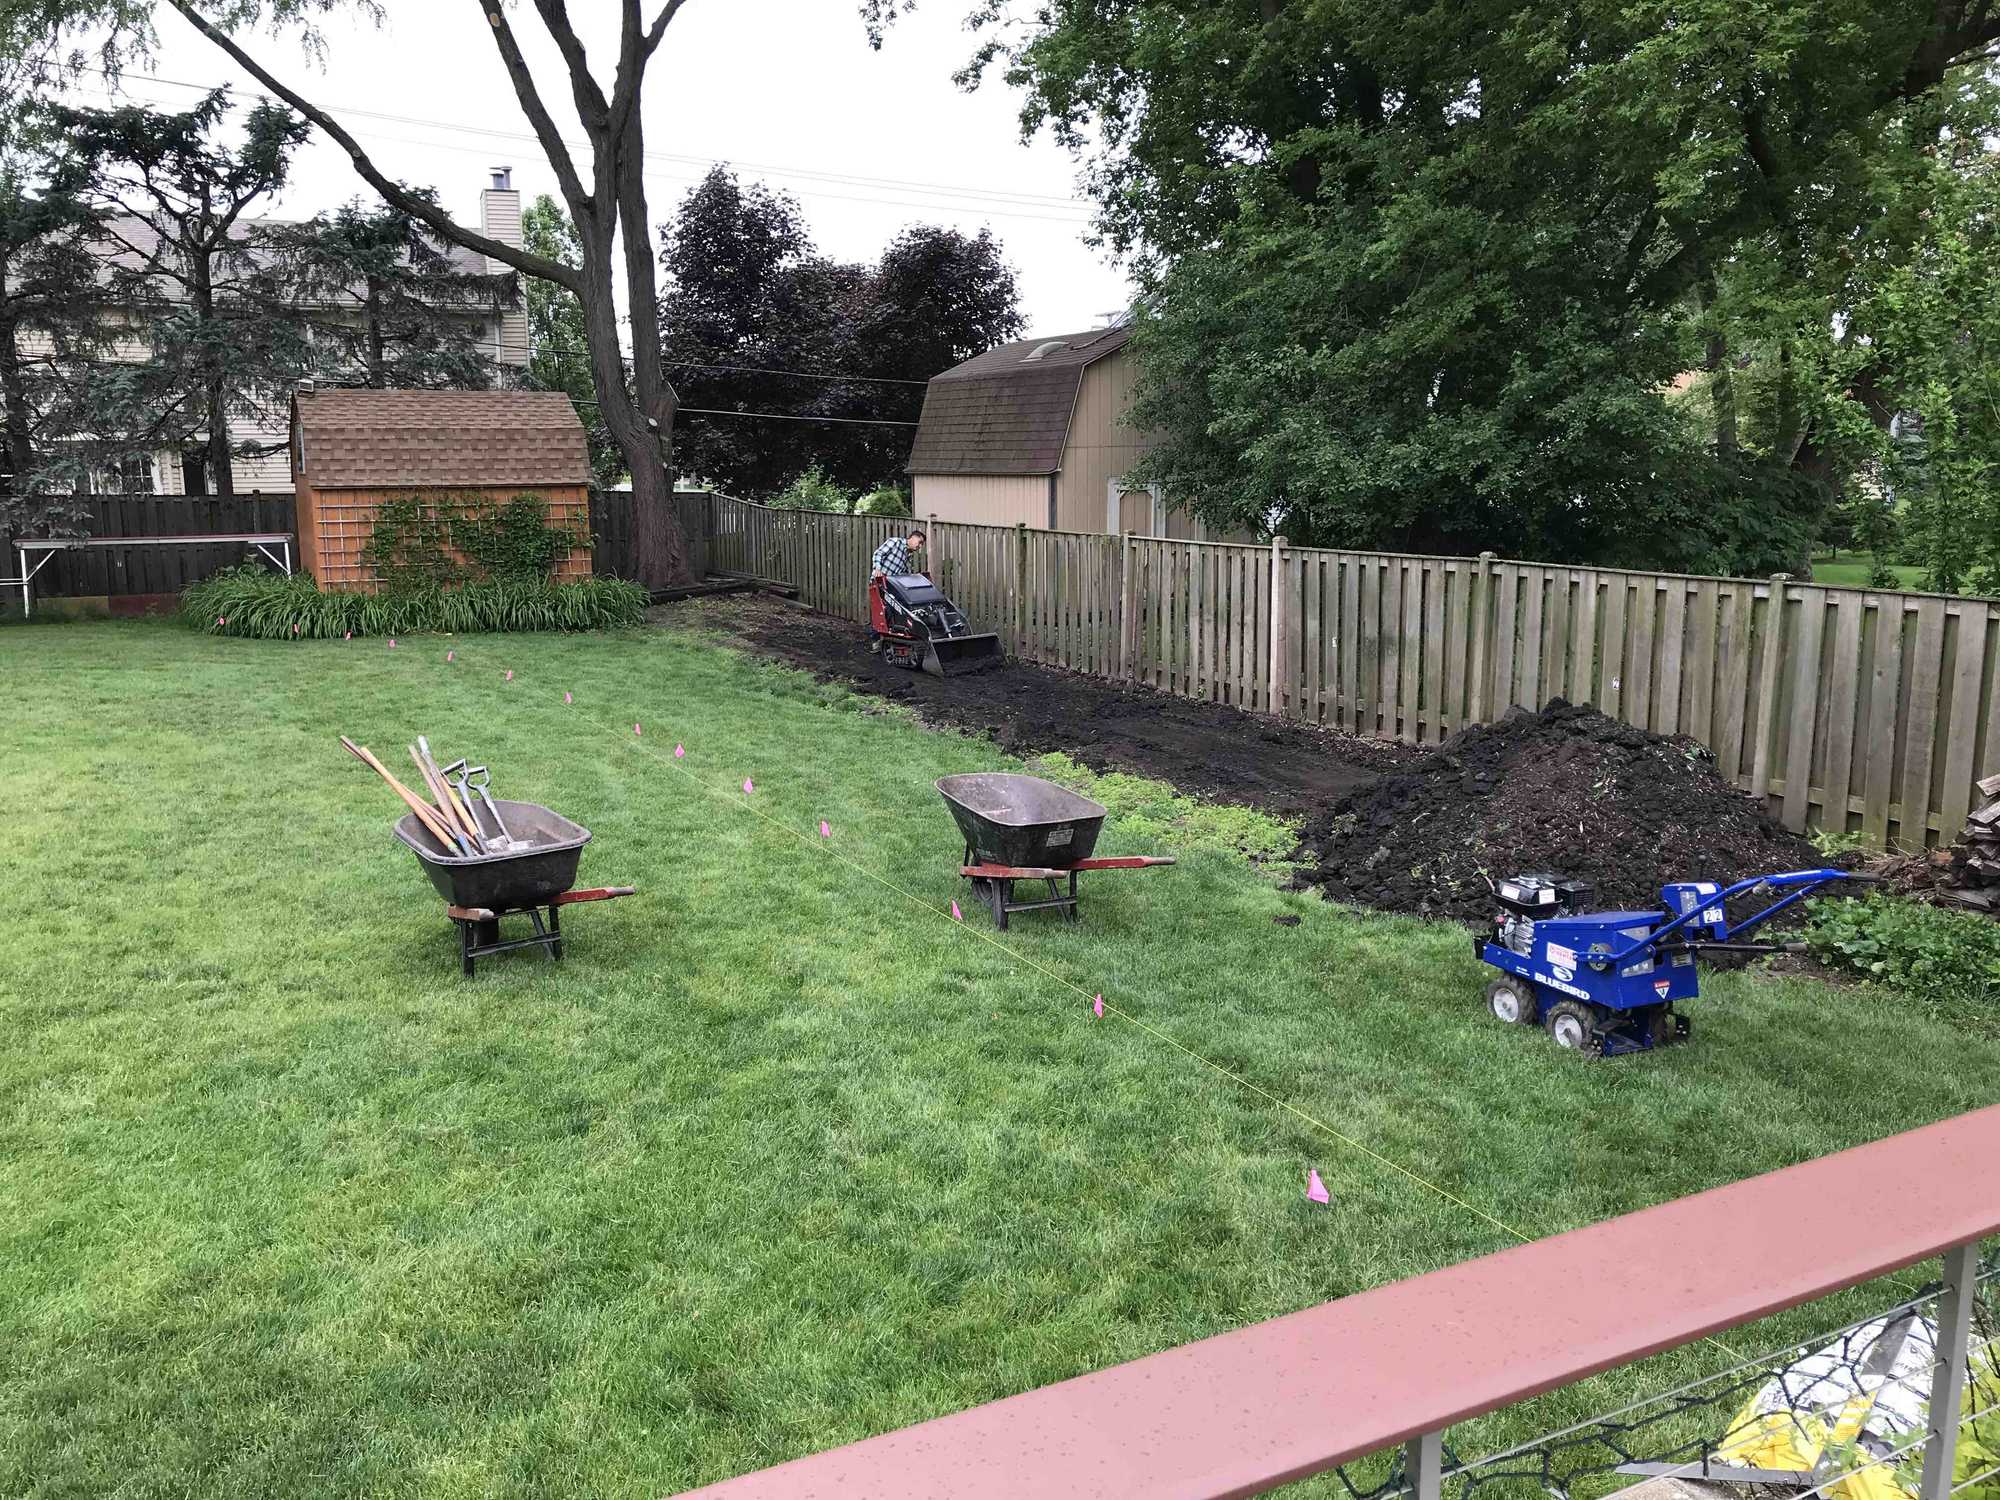
The next step was to cut out the sod (which I had Steve’s crew install elsewhere in my yard).
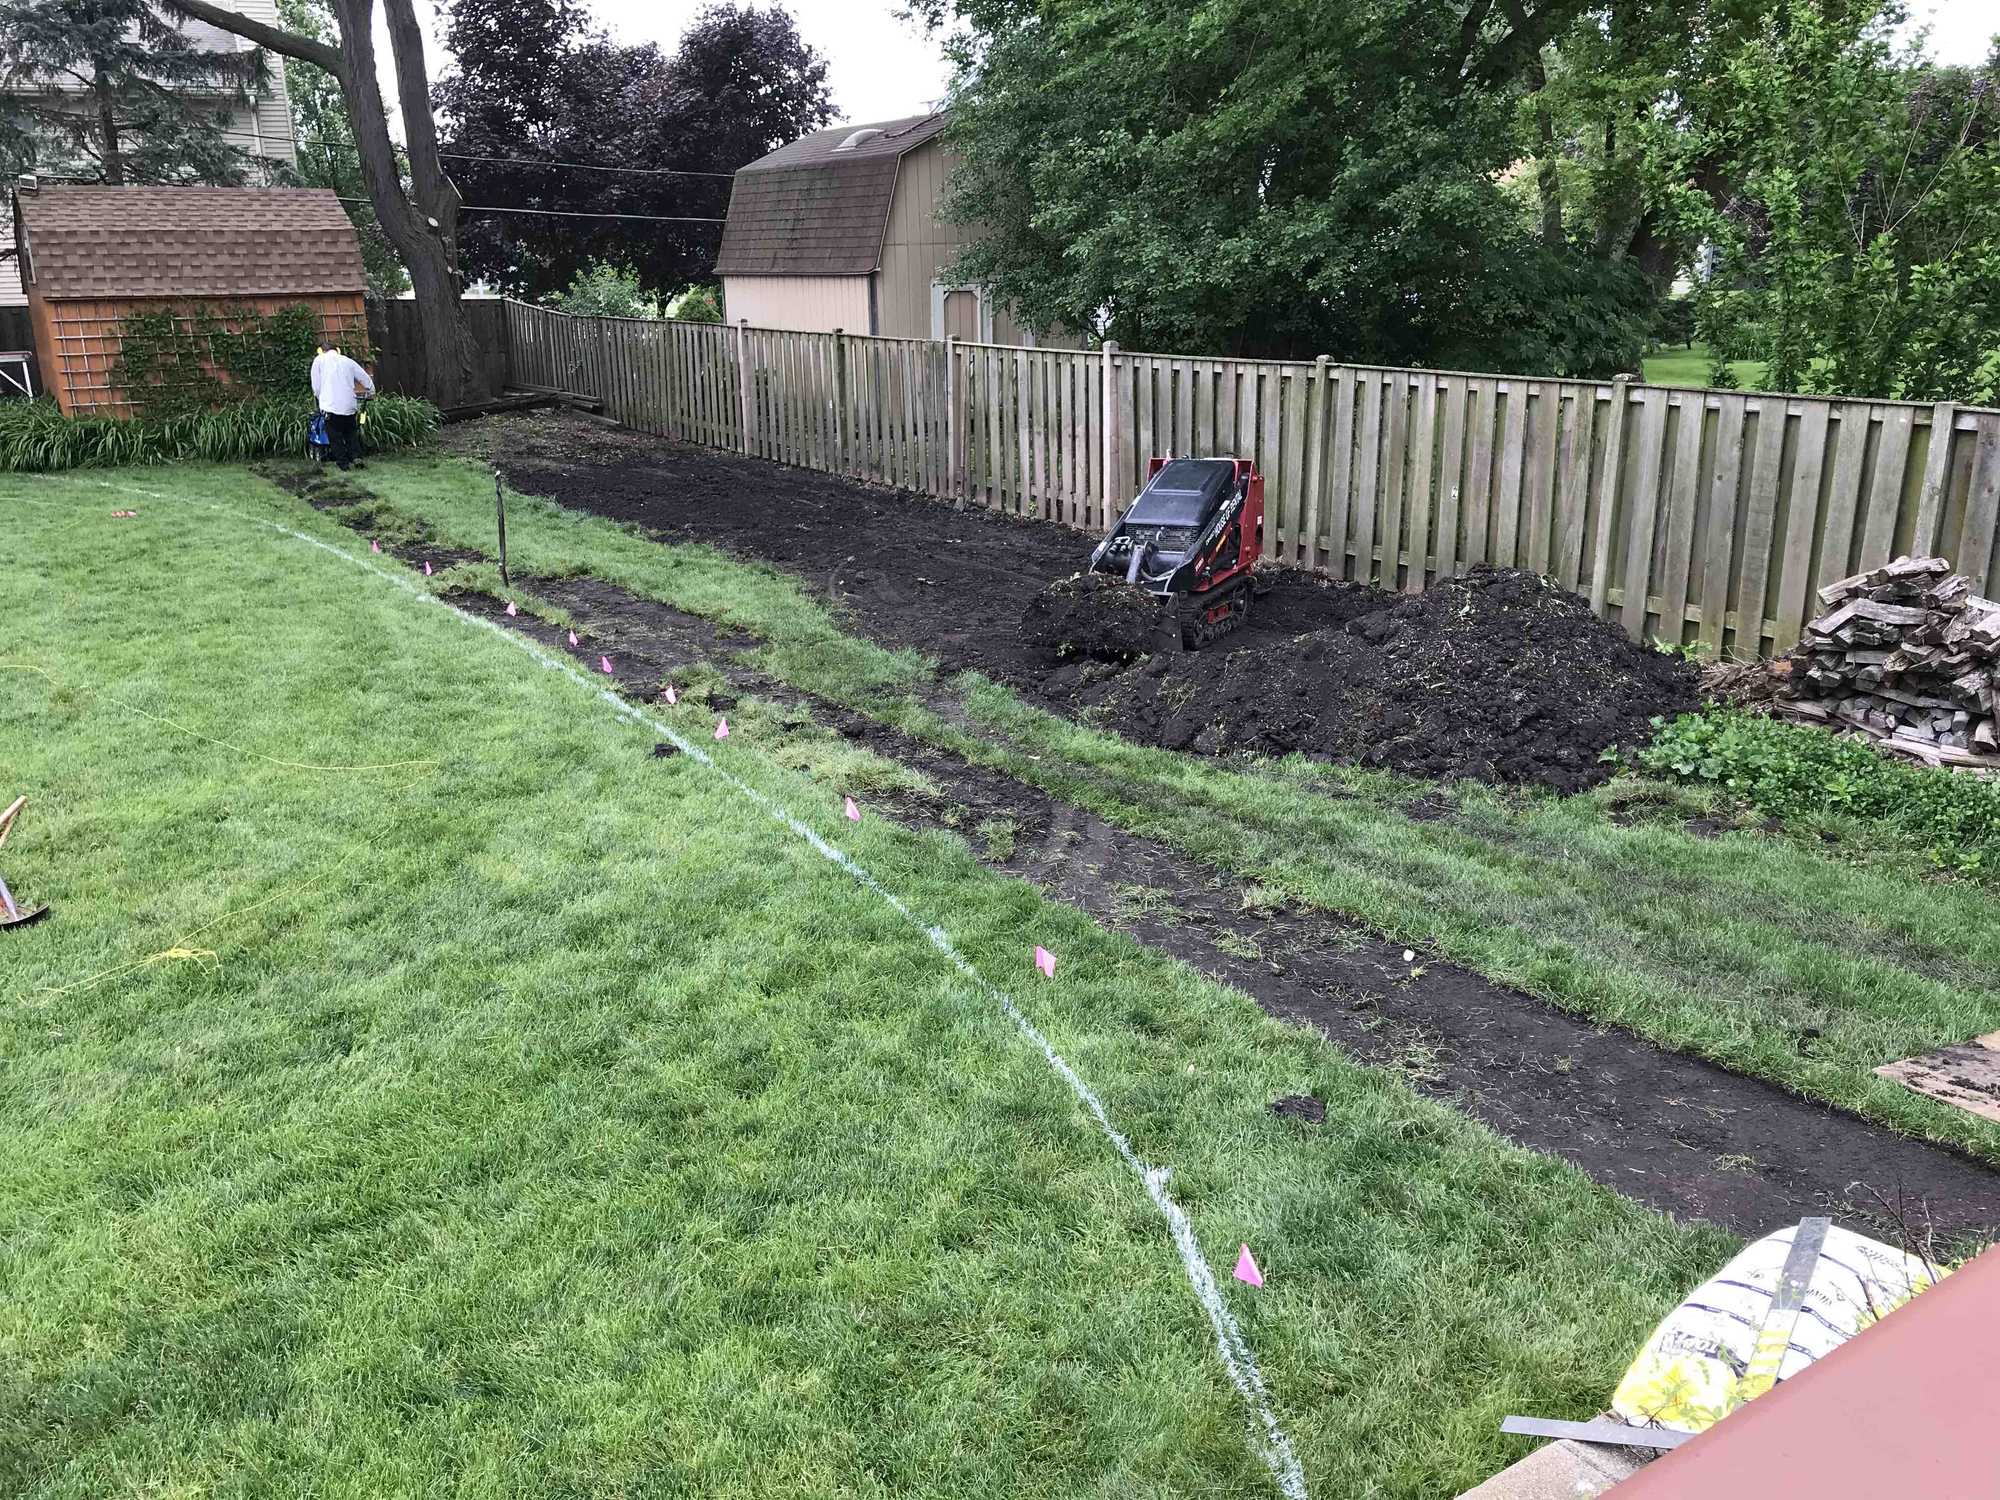
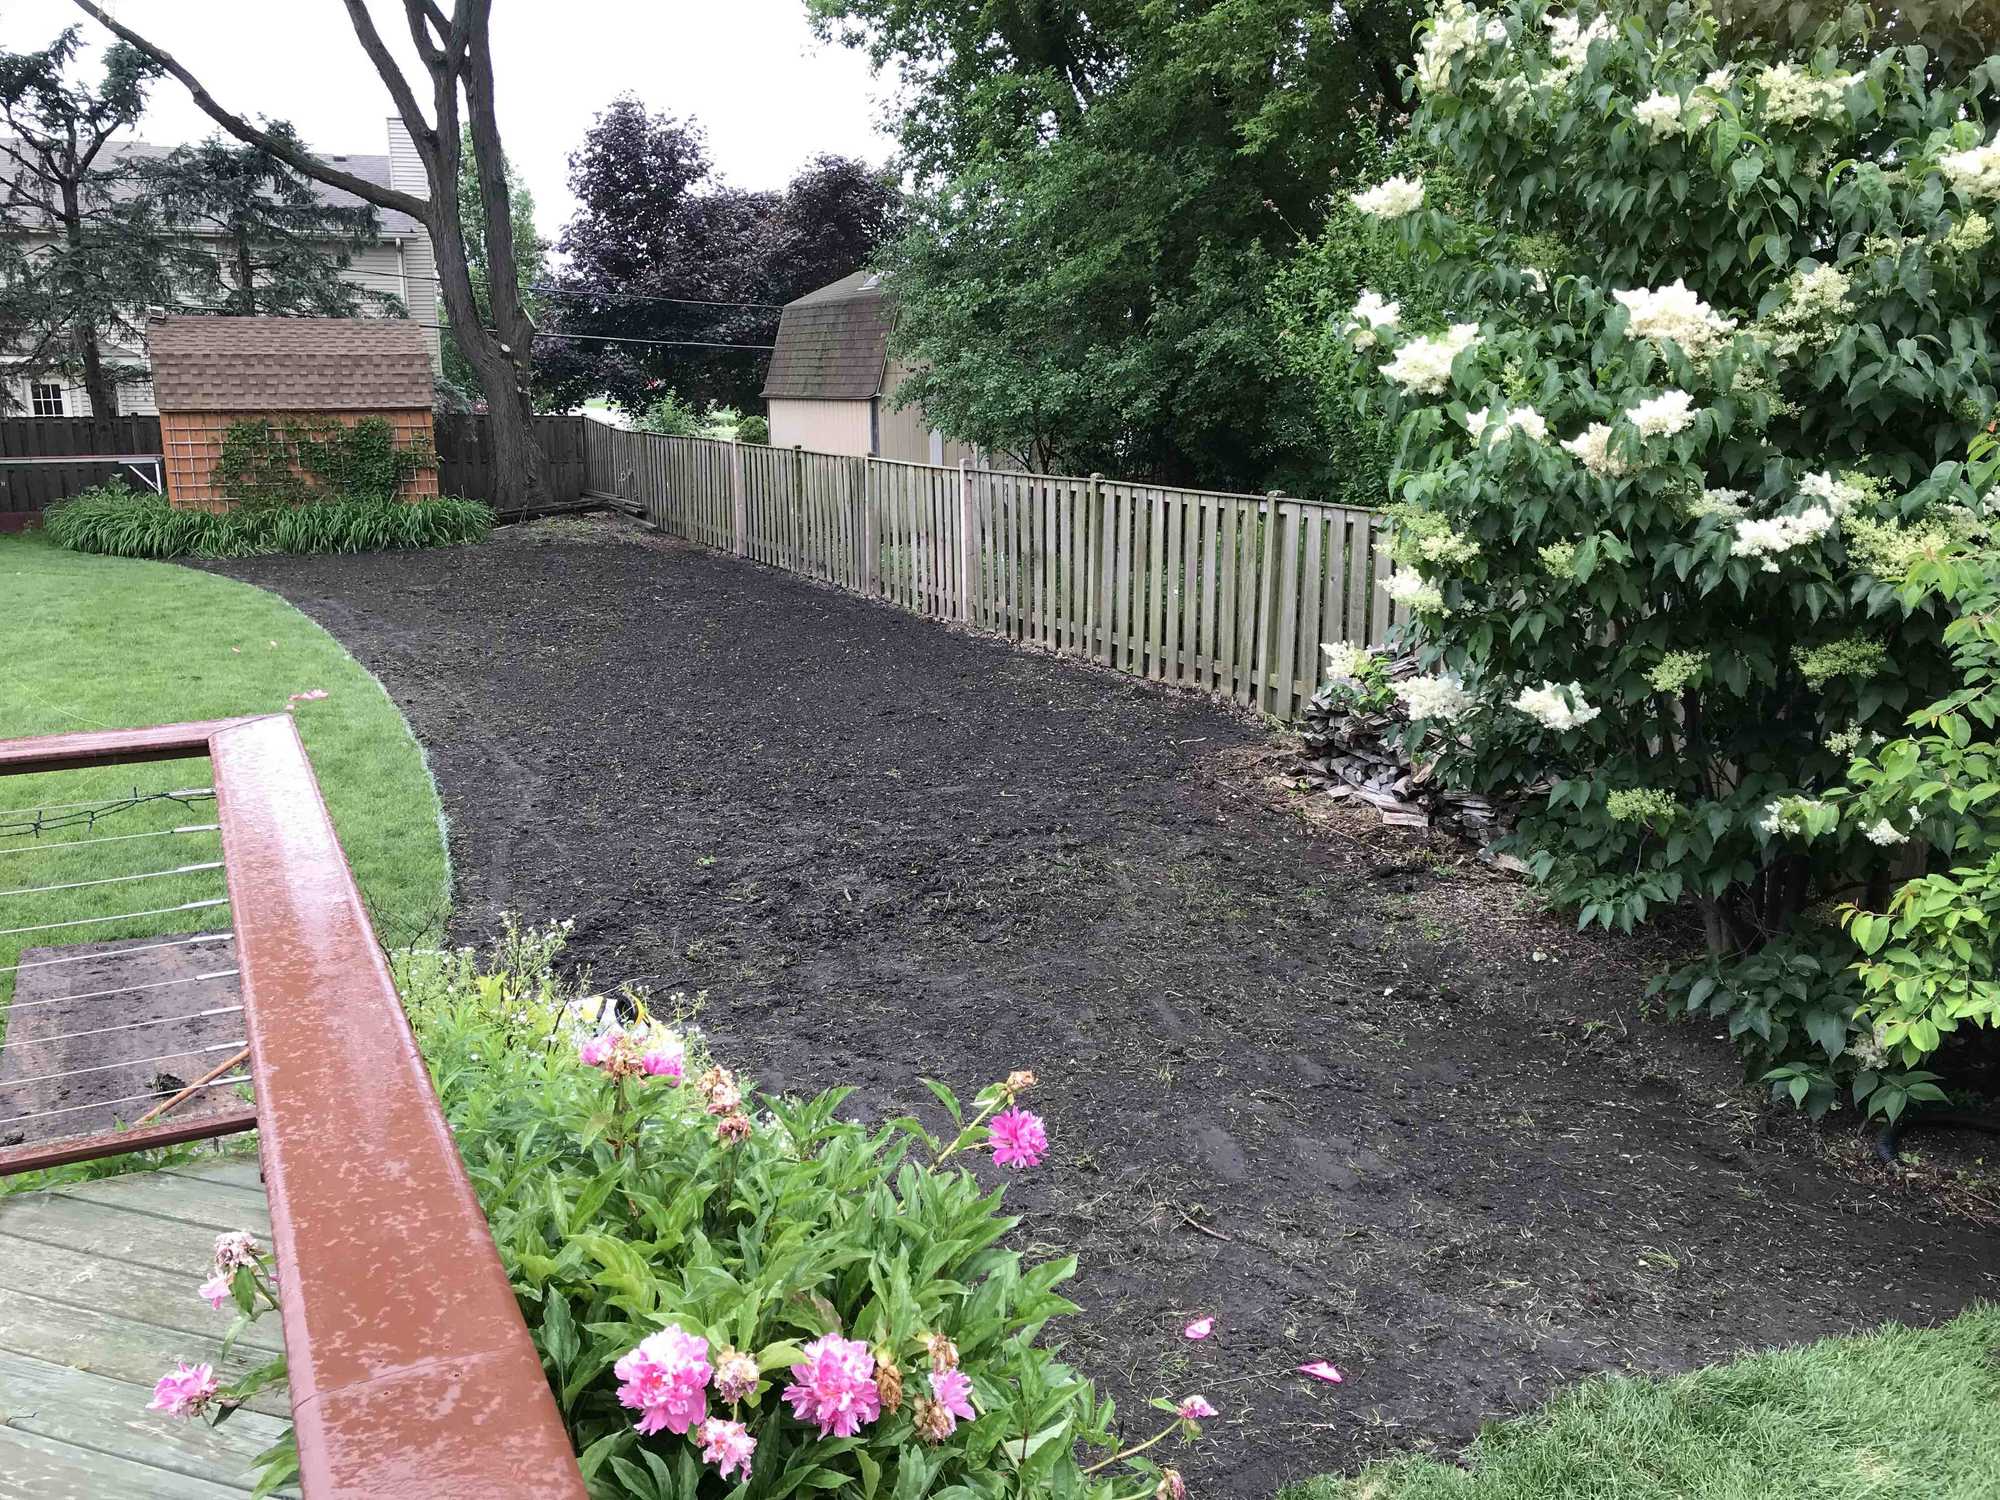
Then excess dirt was removed and the area leveled with a slight slope toward the fence to help with drainage.
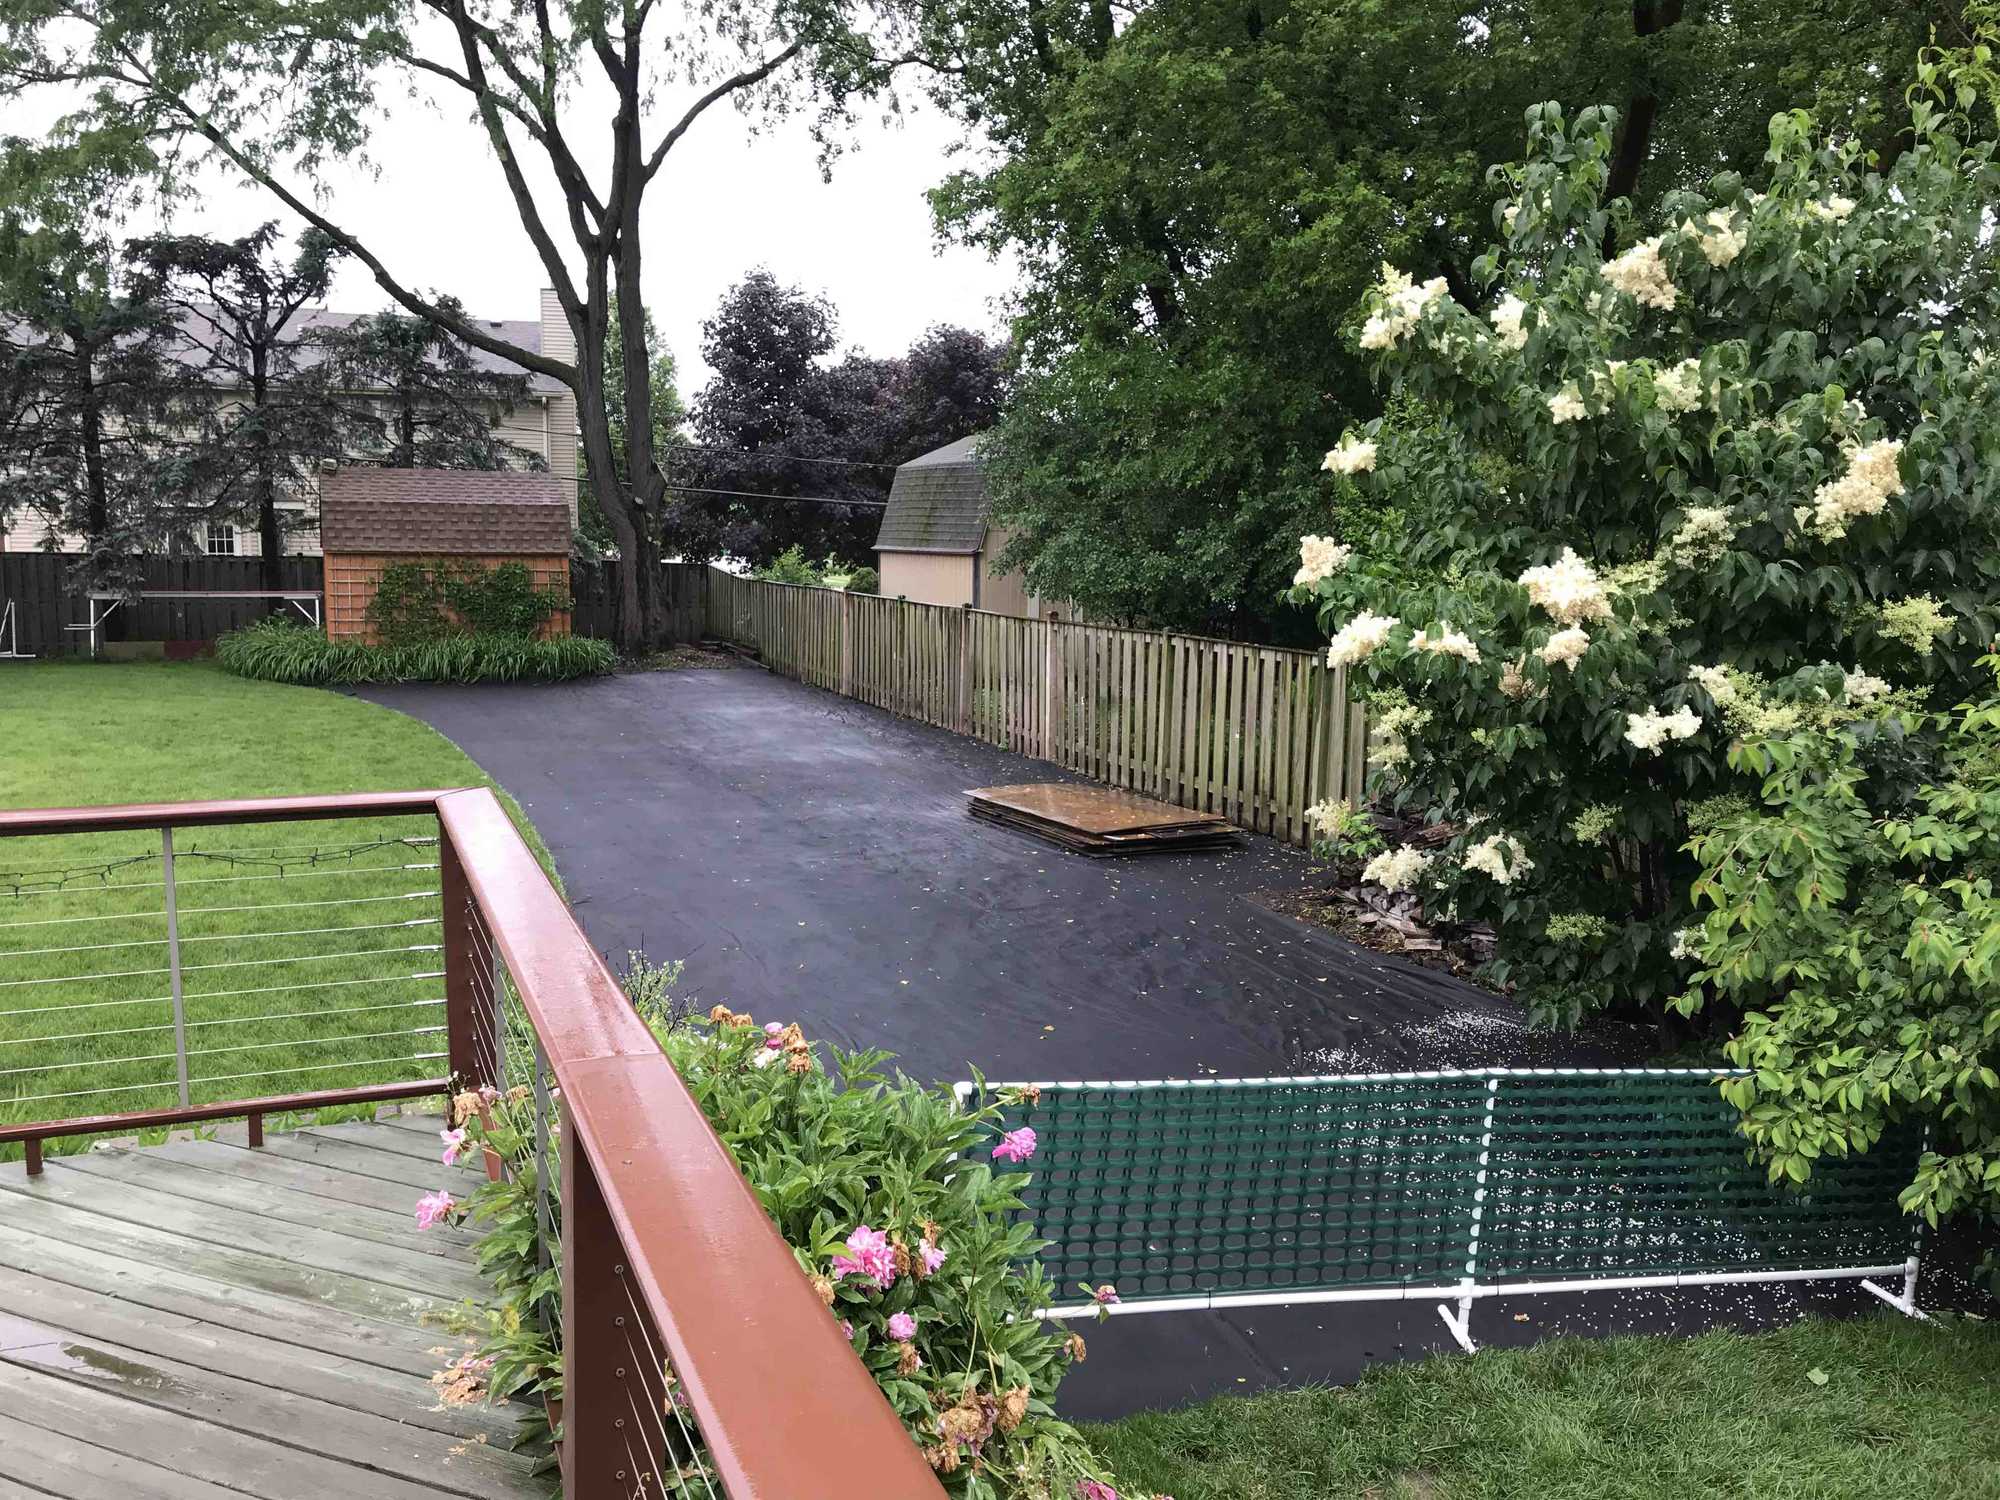
A weed barrier was stapled down across the area to keep plants and weeds from popping up inside the practice area. I am hoping this keeps the dogs from getting muddy when they push the mulch out of the way too.
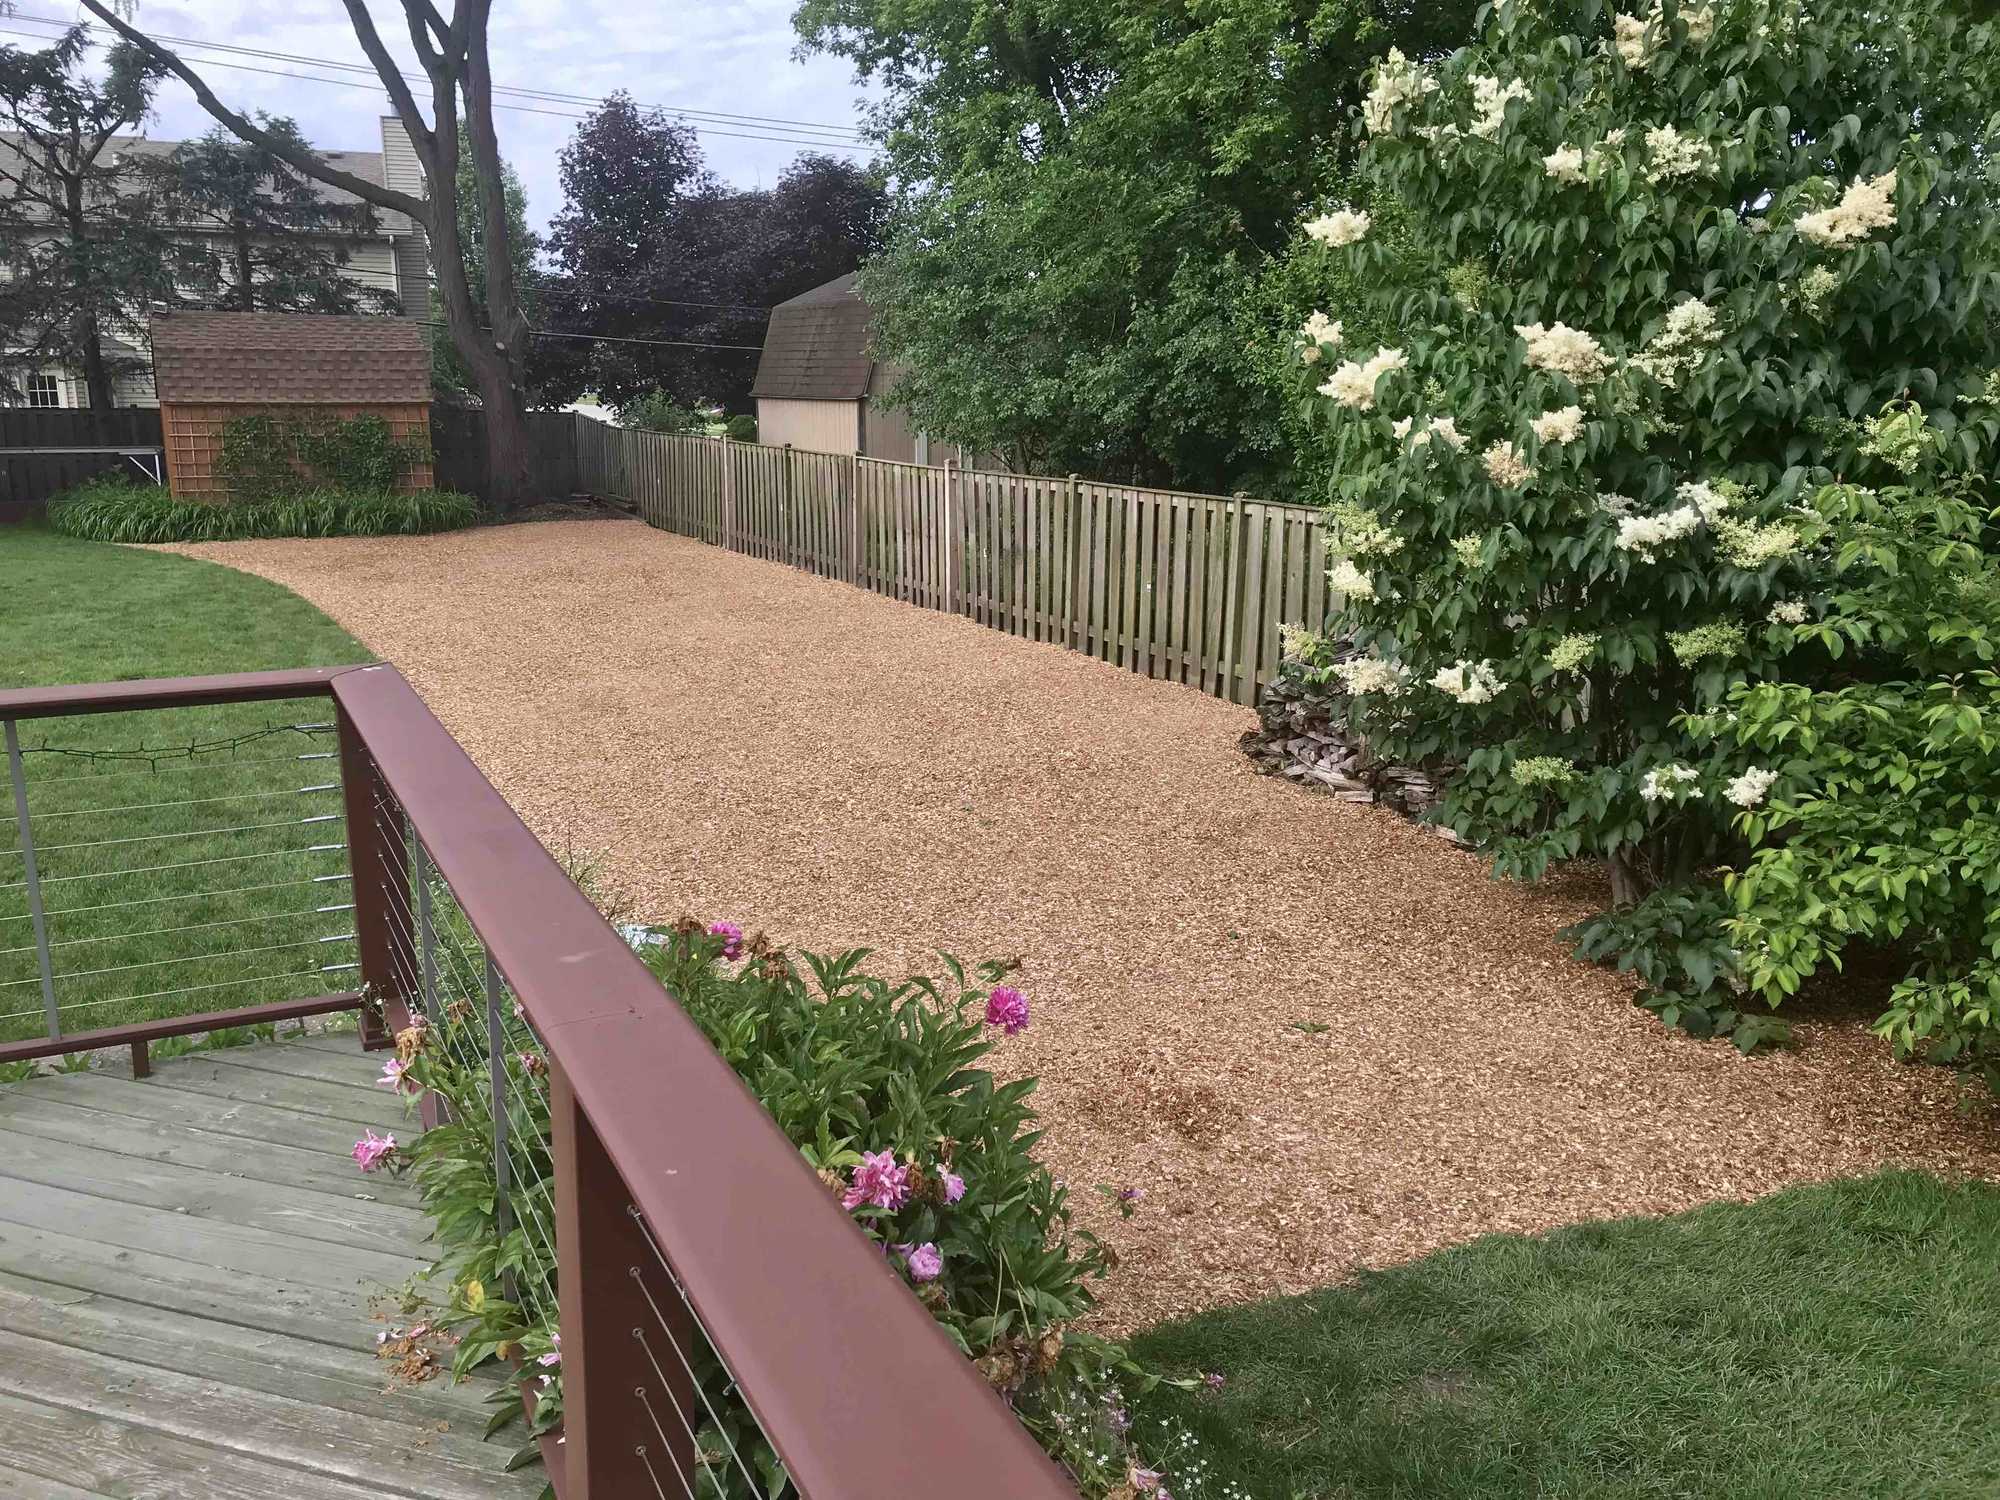
The final step was to fill the area with about 4 inches of “playground mulch”.
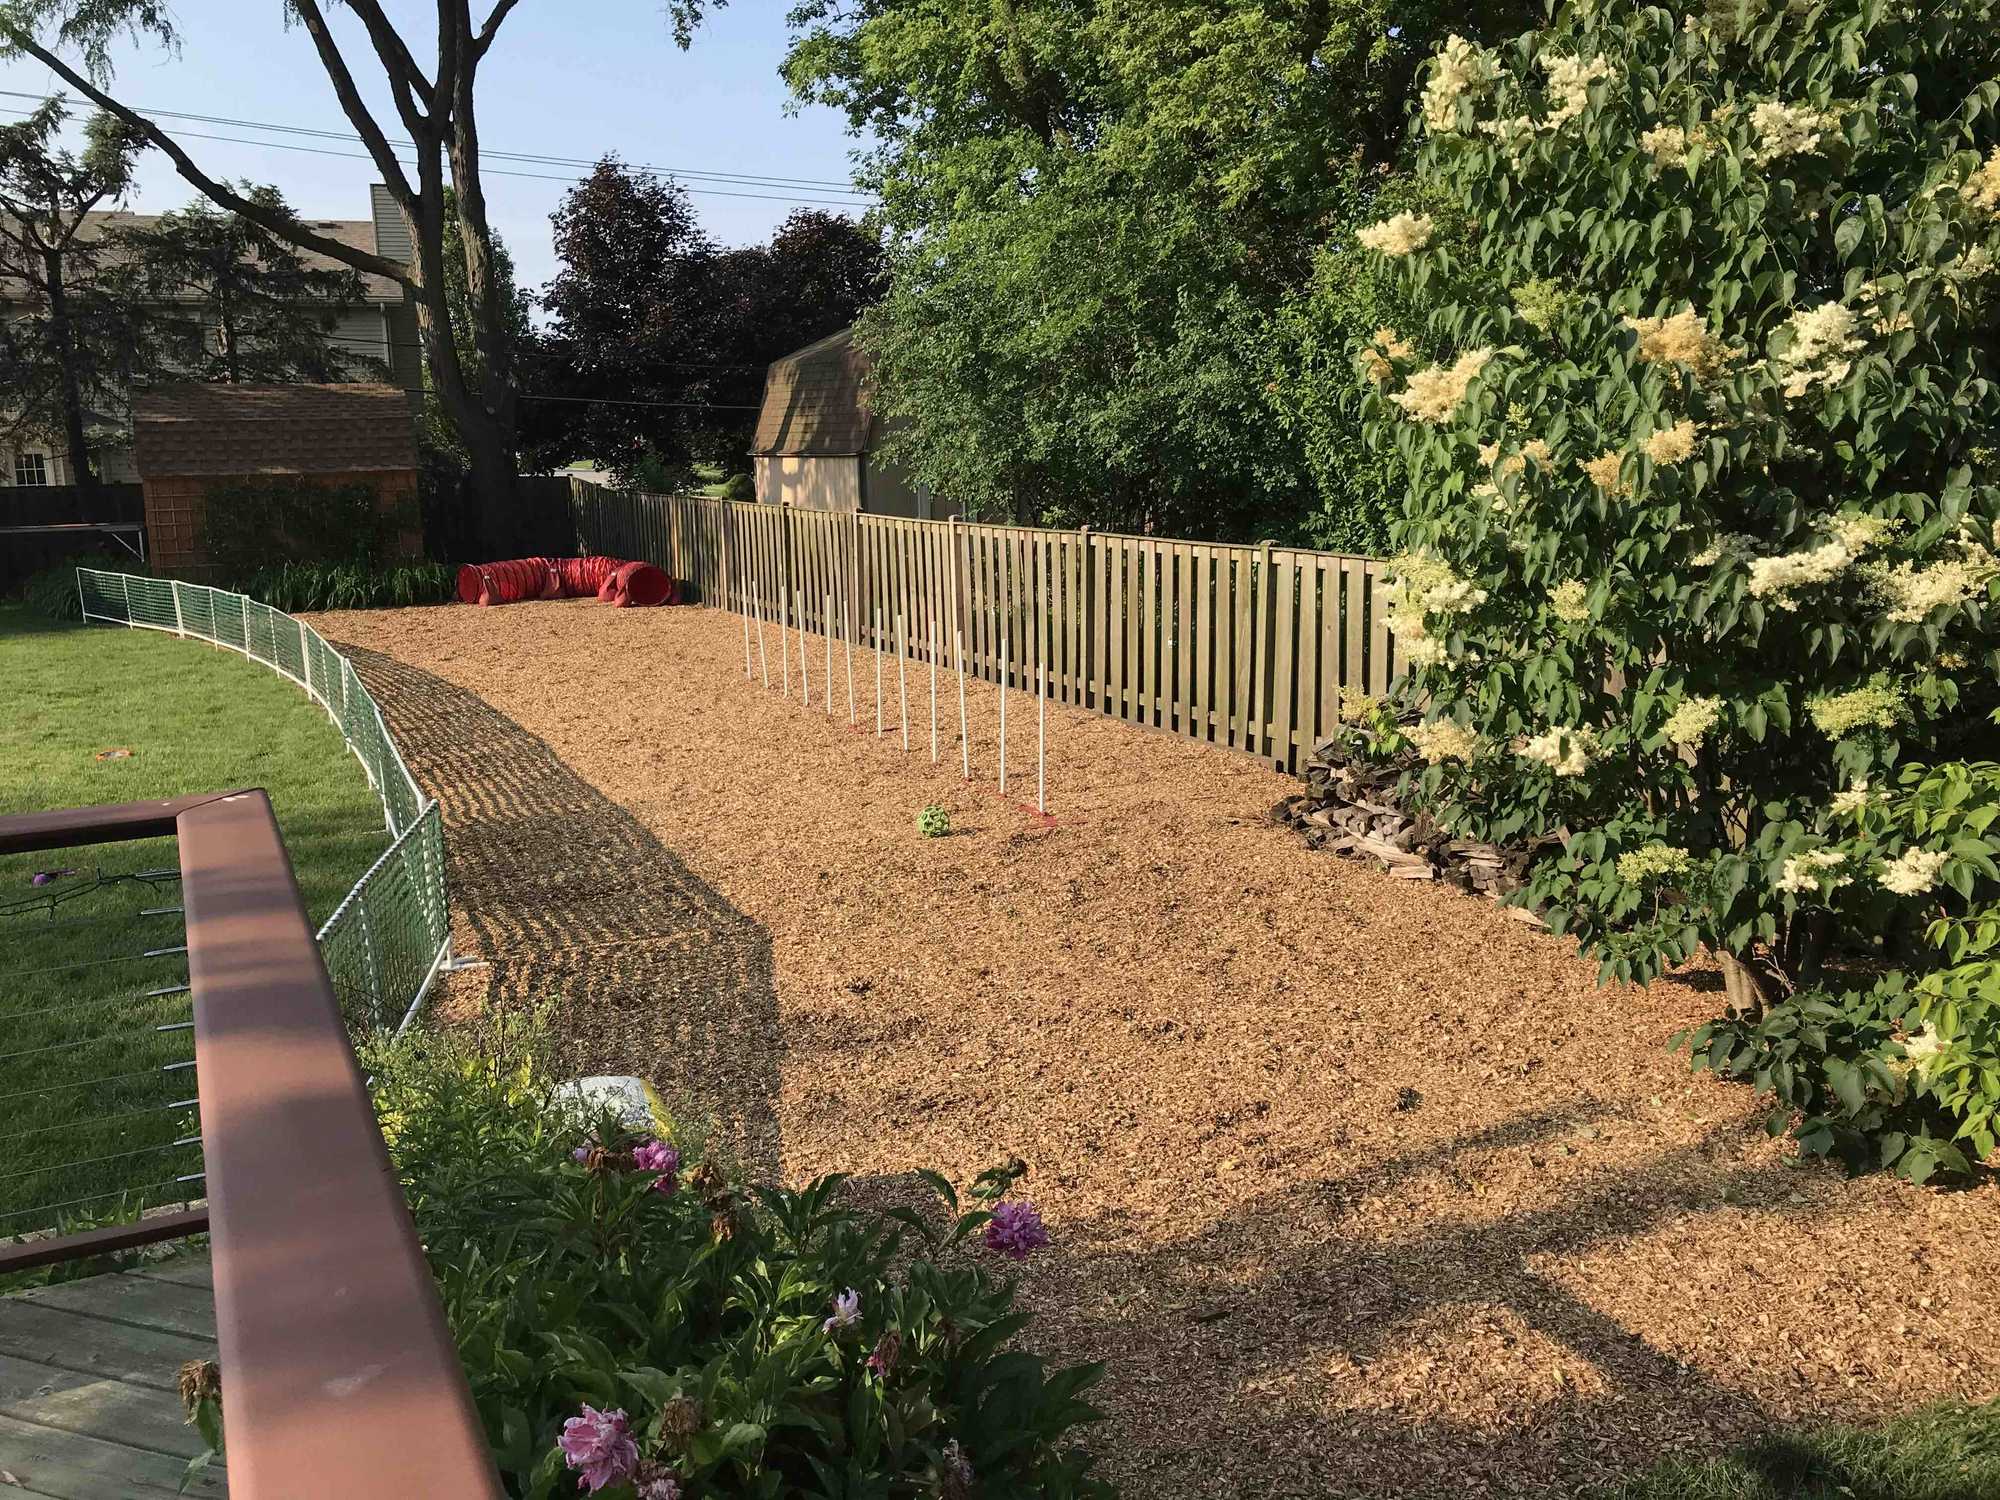
Here’s what the area looks like with the Ring Gates set up:
Maintenance
To keep the dogs and me from tripping I didn’t put any divider between the mulch and the grass areas. That means some of the mulch gets kicked into the grass. So when I mow the lawn I have the mower direct it’s output to try to blow the mulch out of the grass and back into the mulch area at the transition. You could also use a leaf blower. I manually rake that area every month or so.
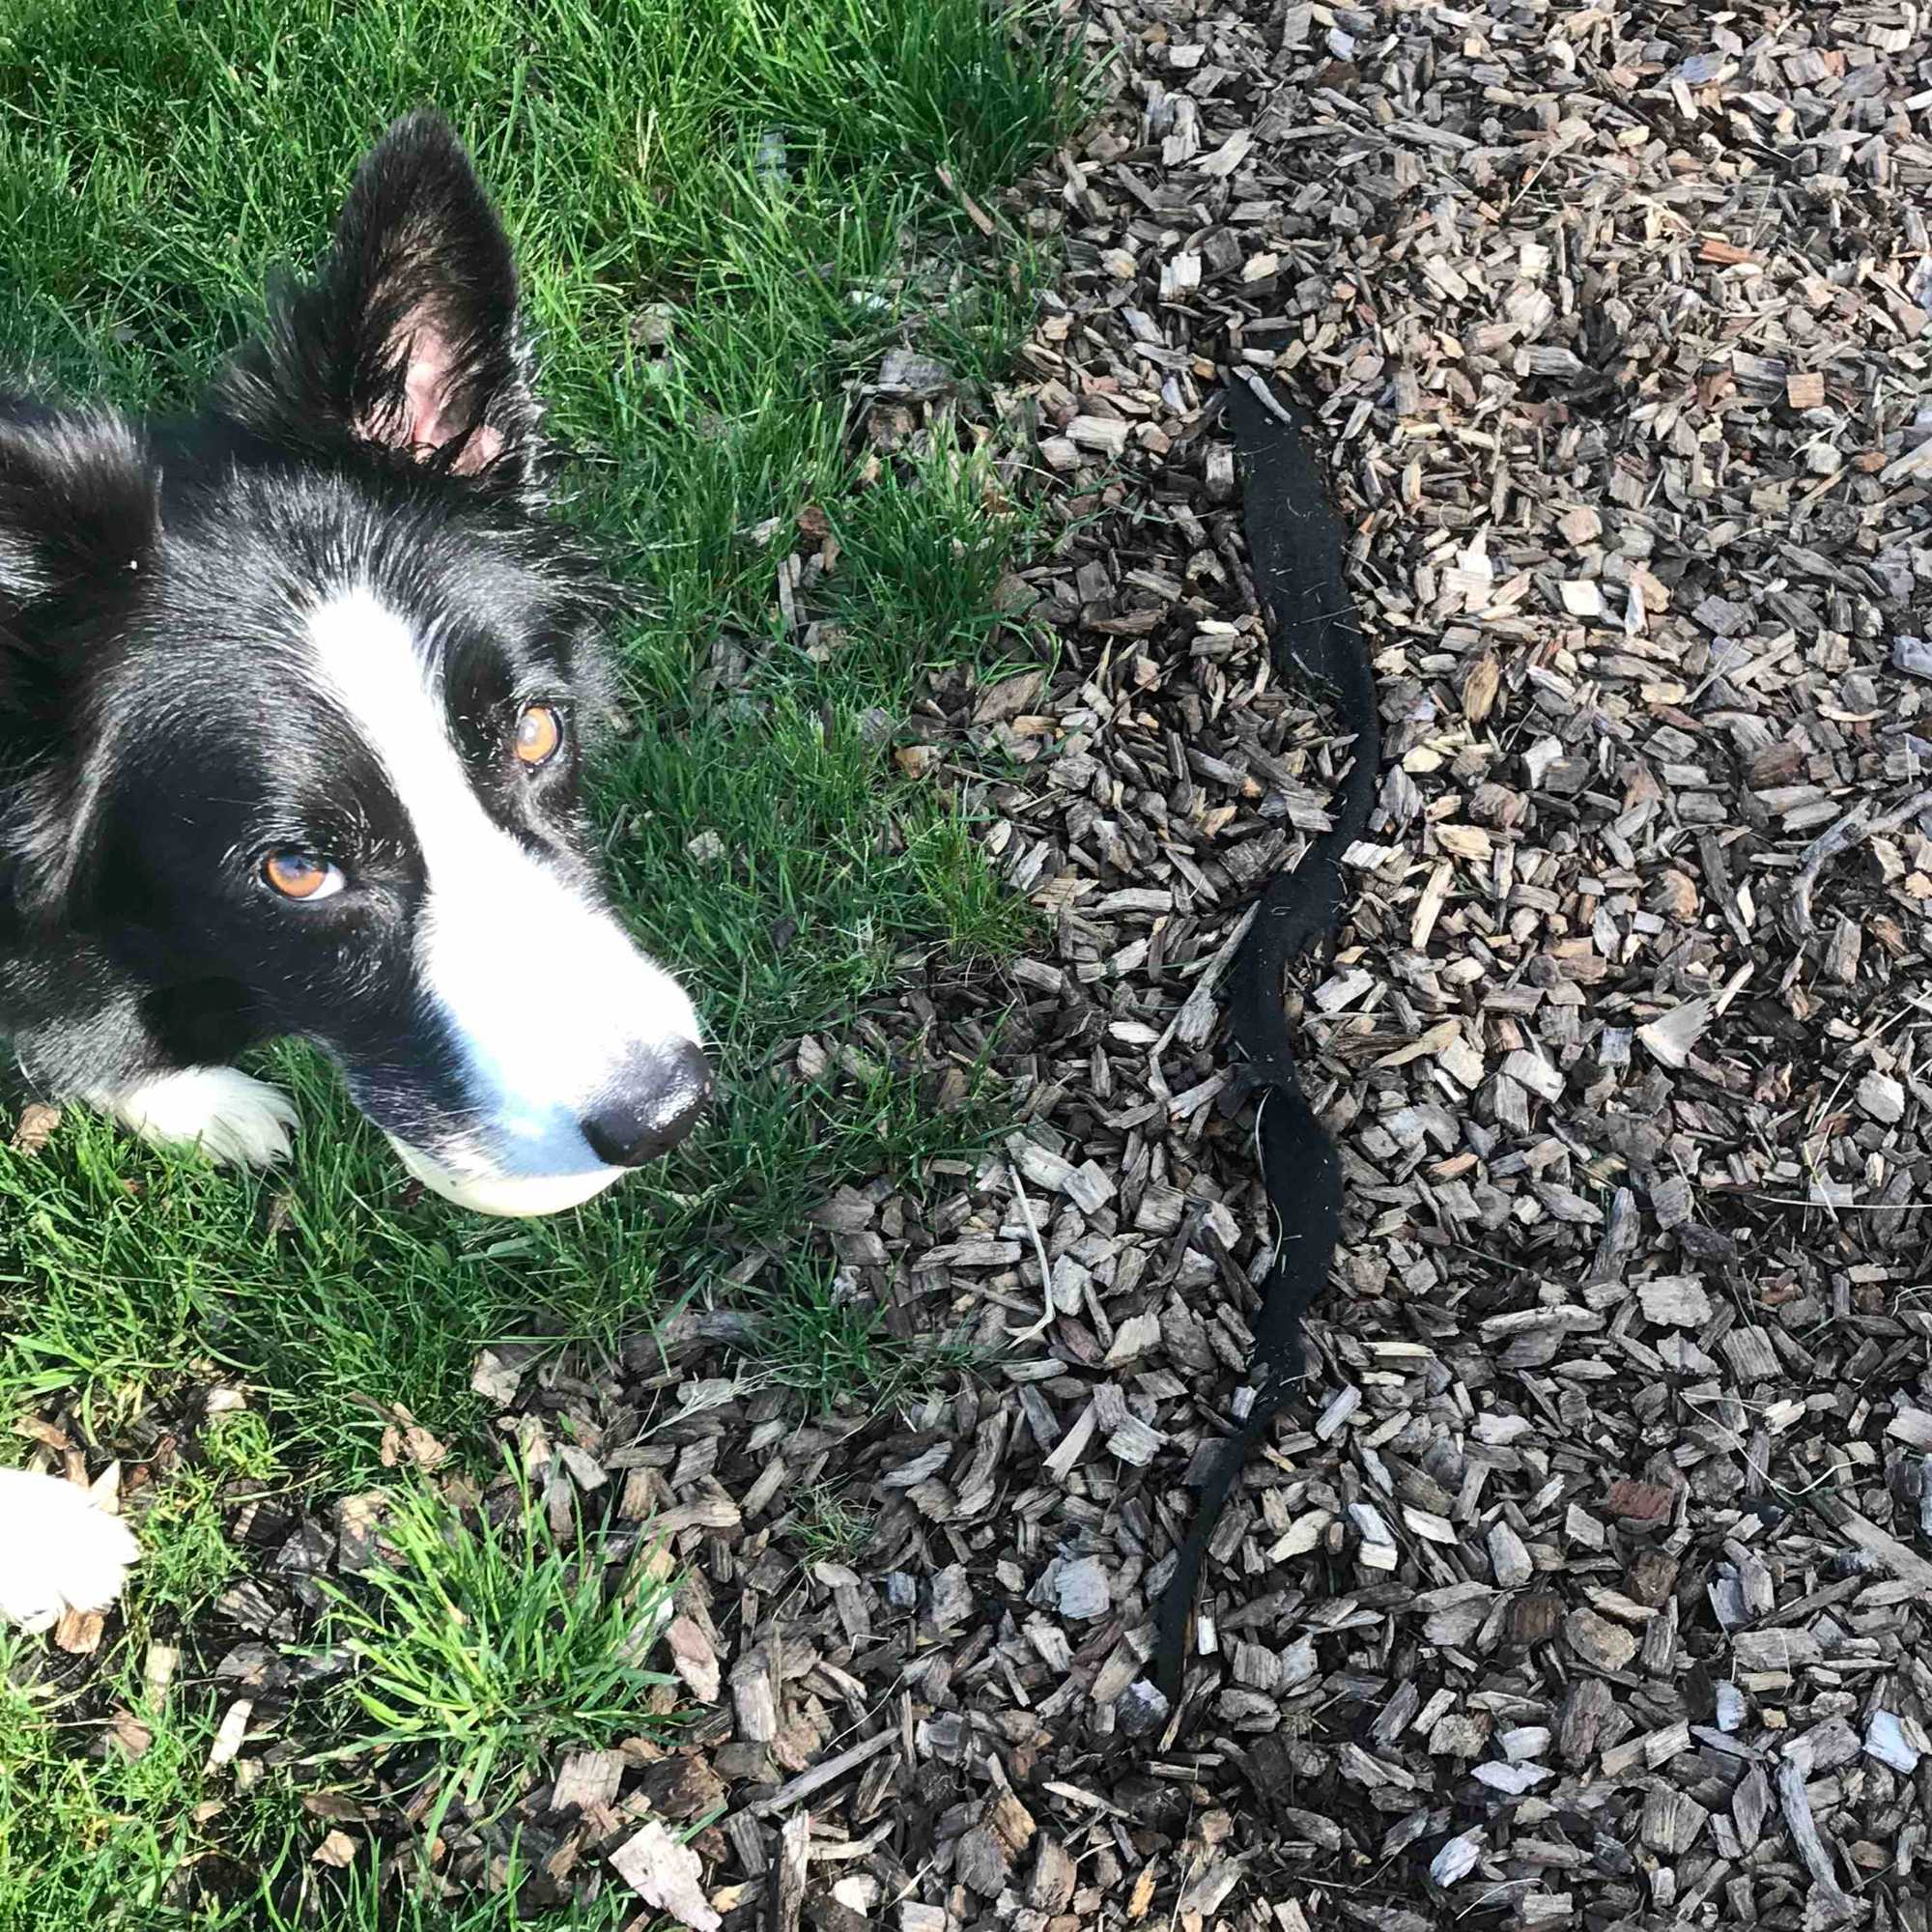
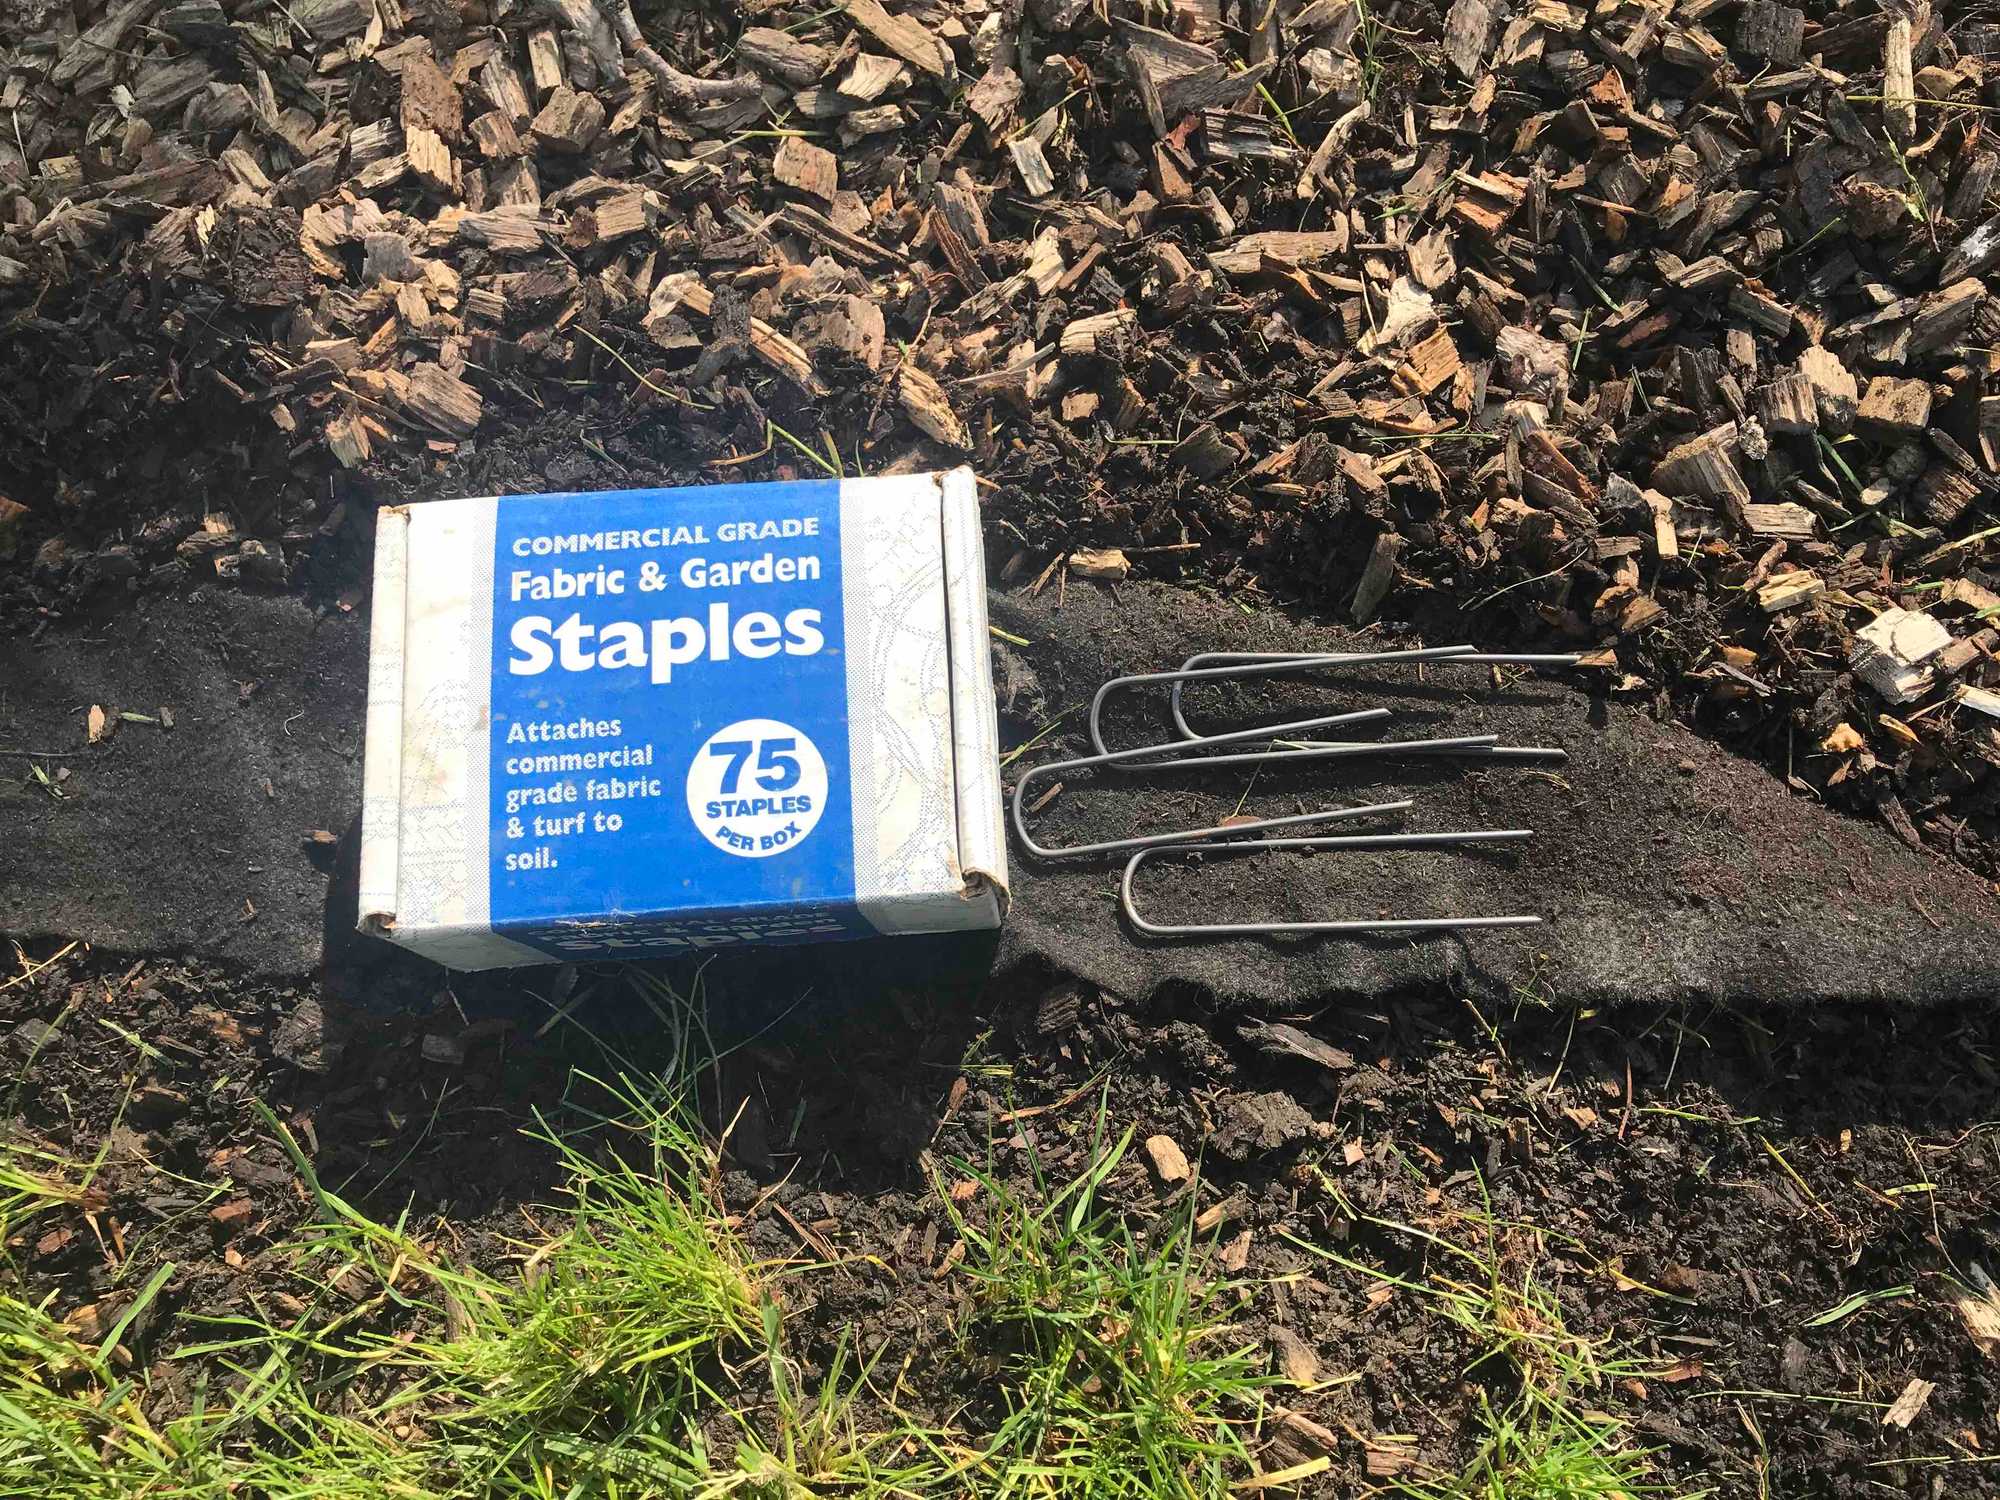
I’ve had the edges of the weed barrier fabric come up along the edge in some spots (the black material in the photo below). The original installation had staples every 4-6 feet which is fine for regular gardens but isn’t close enough for as much heavy traffic as this area gets.
Here I’ve raked back the mulch and then I pushed in fabric stables every foot as deep as I can to make certain they don’t stick up at all.
Retrospective
I’ve had this area in place for just short of a year and here’s what I learned.
It was wonderful to have a place for the dogs to run around and play when the yard was muddy in the Fall and now in the Spring. For that alone it was well worth it! My yard and dogs would be a muddy mess without this area and the gates that keep them in it in bad weather.
For my agility practice it greatly extended the training season at home!
All in all it’s perfect except for one thing: unless the mulch is soaked thoroughly through (like after an inch or more of rain) it moves around too much to use for a safe jumping surface like you’d want for practicing at a competition level. Snap! is a very energetic dog and he can shift and dig up the mulch when jumping/turning at speed. I don’t want the mulch moving out from under him on approach to a jump (especially back sides) as a slip could injure him.
I’ve found for dogs taking the jump from the front side and at non-full-height the surface is OK. Rufus and Petey aren’t nearly as energetic jumping at 12-16 inches (and since we are just goofing around) I’m not working tight wraps or a lot of speed with them, so the mulch isn’t moving underneath them. But I am careful about the type of jumping I do on this surface. So I can’t recommend it for general jump work except in controlled situations.
For courses I ran on dry days, I’d setup the jumps so the dog’s take off/landing was in the grass and put contacts/tunnels/weaves in the practice area. That worked fine and I could leave the equipment setup in the practice area and it didn’t kill my grass!
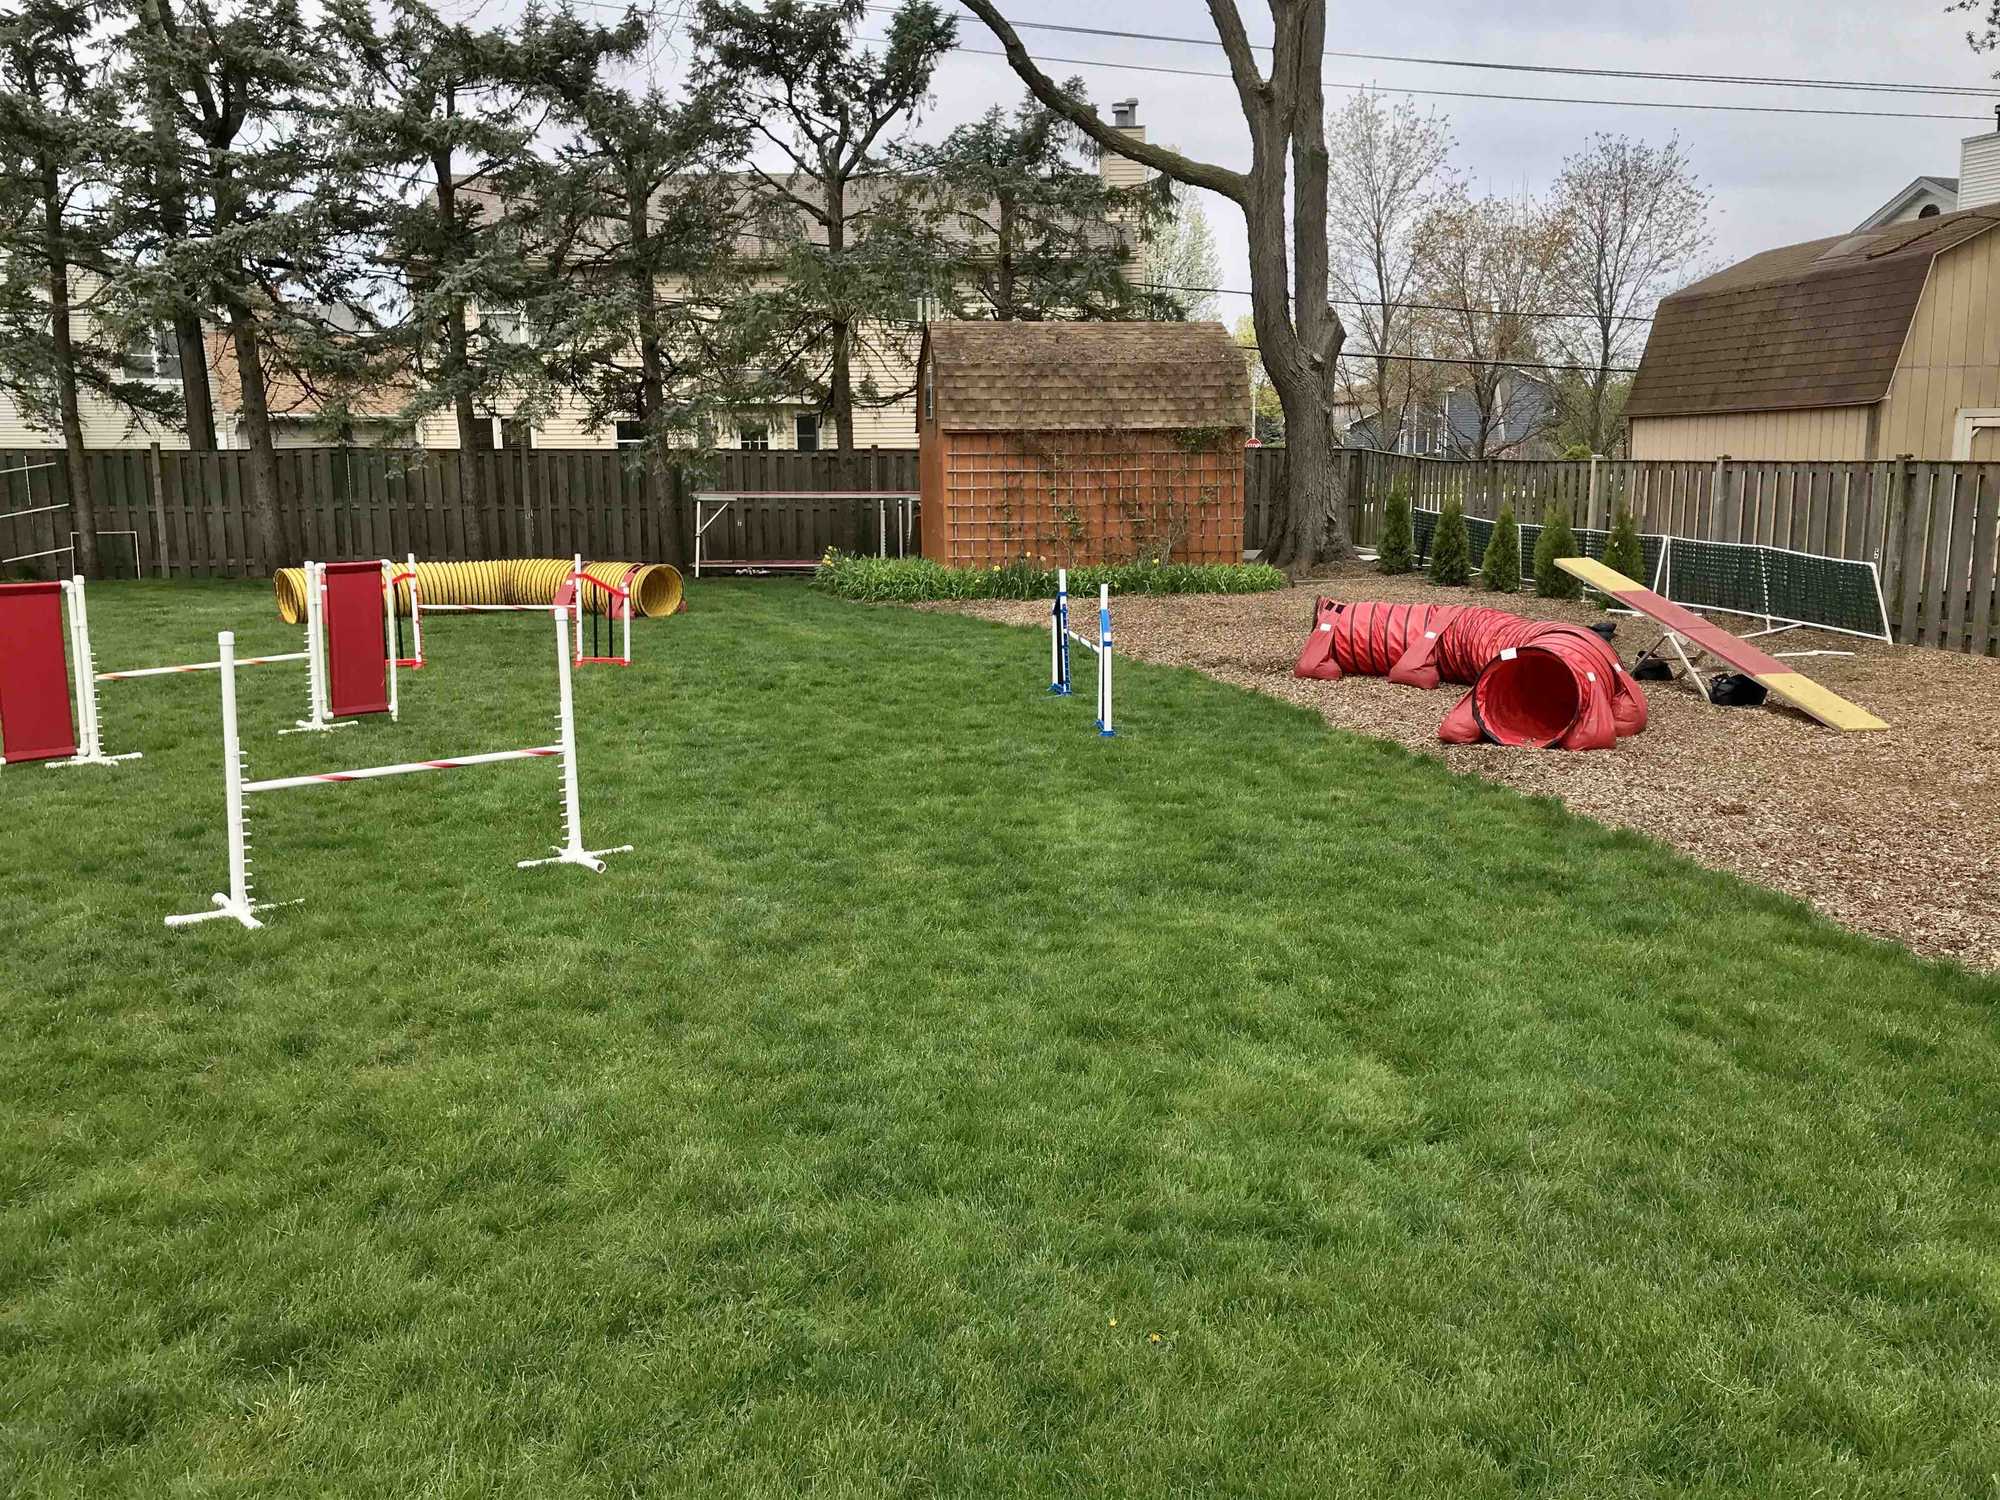
The surface is fine, even when completely dry, for use with contacts and tunnels. Tunnels get extra support from a “berm” of mulch that builds up on their back side after the dogs run through it for a day or two. Some raking and stomping on the mulch puts it back in place where the dogs exit/turn out of curved tunnels.
For weaves, Snap! will dig down through dry mulch mostly on the entrance/exits, and to a lesser extent in the middle of the poles. So raking/trampling of the mulch is required every 5-6 times through the poles. Which is fine for me, since I try not to practice many weave pole repetitions in any session.
After almost a year, the mulch is breaking down a little into smaller pieces and I think that is helping it form an aggregate that holds together better. The bigger pieces end up migrating to the top of the surface. This Spring I’ll spread 4-5 cubic yards of a fine mulch over the surface in the hopes that it helps hold the entire depth together better. I might try adding sand too to add another size of aggregate to “fill in the gaps” further.
Another thought I had was: what if I hadn’t had a weed barrier installed? Then the bottom layer of mulch would “embed” itself into the dirt and might act to anchor the upper layers of mulch(?). Another variable is to use less mulch. So the dogs might get a little muddy but maybe the mulch would stay in place more. So far just speculation.
I’ll update this article with what I learn as I fine tune the surface composition in this practice space.
If you enjoyed this article won't you please:  Thanks!
