
Contact Resurfacing - Part 1: Removing the Old
25 Aug 2014
My dog walk, teeter and A frame all needed their original plywood surfaces replaced. As an example, I have an aluminum framed A Frame that is about 10 years old and was outdoors in the Chicago heat, rain, snow, and ice for almost it’s whole life and it’s marine plywood was finally starting to show it’s age. In 2008 I fixed some rotten slats on it. It was built in the pre-rubber surface era so I thought I’d replace the surface with a rot-free alternative already covered with rubber. Since there can be confusion on terminology, I’ll clarify my definitions.
To me the “surface” is the material that is attached to the frame of the equipment. It is made of plywood, aluminum, aluminum composite, fiberglass or “plastic”. The surface can be attached with screws, bolts, pop rivets, or even welded to the frame. The surface is then covered or protected with: paint with sand, glued on rubber pellets, glued on rubber belting/matting, or glued on rubber pellet “skins”.
Max200 supplies “surfaces” of aluminum composite or “plastic” with rubber skins attached. They also supply pre-made skins. I ended up using both types of Max200 surfaces with pre-applied skins - more details in future articles.
CleanRun supplies complete skins and kits to make the skins yourself.
There are a number of steps in this process so I’ll break it up into multiple articles.
Removing The Old Surfaces
Screws and bolts are easy to remove - unscrew them. If they are “stuck” or the head is stripped; use a hammer and chisel to destroy the wood around the head of the screw. Then use clamping pliers, aka Vise-grips, to securely grab the head of the screw and unscrew it.
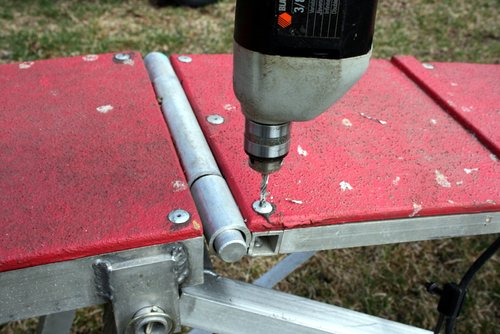
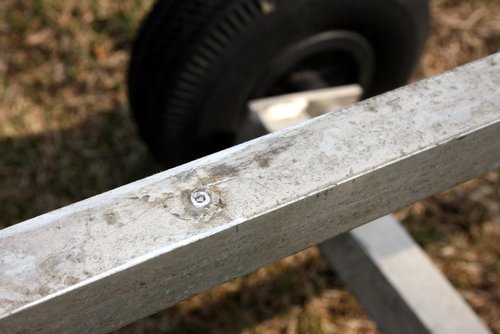
Blind or "pop" rivets are very common fasteners used to hold the surface to the frame. They work by sandwiching the surface between the head of the rivet and the shaft of the rivet which expands in/below the frame when "crimped" into place. Since they are made of a soft aluminum allow they can be removed by using a large drill bit to cut the head from the shaft of the rivets.Pick a sharp drill bit that is around the size of the rivet shaft. Drill in the center of each rivet until the head comes off the rivet shaft.
Drilling the Head Off a Rivet
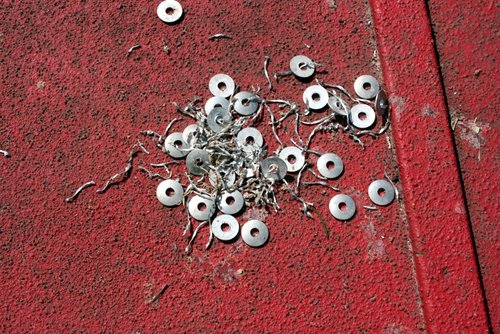
Rivet Heads After Drilling
Then pry the surface off the rivets:
Prying Off the Surface
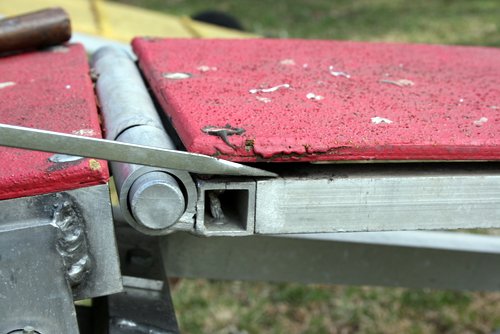
Rivet Shafts
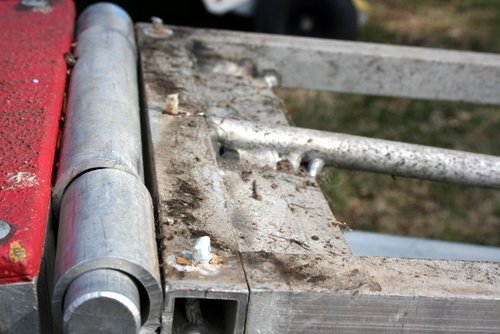
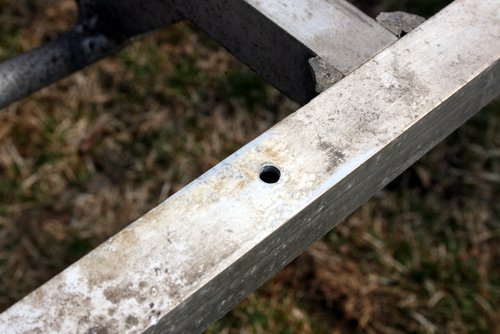
Use a hammer to tap the shaft of the rivet into the frame. You may need to use a punch to drive the rivet the final distance through the frame. Then tip the frame to get the rivets out:
Rivet Flush with Frame
Rivet hole after removal
I used this same technique on all three of my contacts. The next article focuses on improvements to the underlying frame of the obstacles to take the heavier weight of the rubberized contacts.
If you enjoyed this article won't you please:  Thanks!